Whether you are new to photography or a working professional you can always find ways to up your game. In this series of articles I present ten paths you can follow to guide your journey of self-improvement. These paths include: Master The Fundamentals, Master The Light, Master Your Tools, Develop Your Photographer’s Eye (Learn To See), Work On Projects, Cultivate Your Creativity, Work With A Mentor, Practice Deliberate Practice, Challenge Yourself, and Always Be Learning
The paths are general in nature, and with the exception of two (Master The Light and Develop Your Photographer’s Eye), the rest could easily apply to any skill-based activity at which you’d like to improve.
Note that I do not intend to dive too deep into each path as to do so would require volumes. Rather, I simply want to draw your attention to their existence and their potential. I leave it to you to pursue paths that interest you.
Master The Fundamentals
It may seem obvious but complete mastery of the fundamentals of photography is essential to success. I consider the fundamentals to include Terminology, Film Technology, Digital Technology, and Composition.
Terminology
Anytime you start down the path of a new field of study you are presented with a whole new set of concepts, ideas, and vocabulary which you must learn and understand before you can hope to make sense of your subject matter. This is referred to by the thirty-dollar word ontology, which is intellectual slang for vocabulary or terminology. Most of the effort you put in to mastering the fundamentals of photography deals with cultivating a deep understanding of photographic terminology. For example, and in no particular order, you must know the meanings of the terms aperture, circle-of-confusion, and f-stop. You must know what a shutter is and the difference between the various types of shutters including leaf, film plane, electronic vs. mechanical shutters, and horizontal vs. vertical shutters. You must know what the term ISO stands for and how is it used to describe the performance of film as opposed to its use with a digital sensor. You must also understand the concepts of focus, blur, framing, cropping, vantage point, focal length, focal plane, depth of field, depth of view, dynamic range, and hyperfocal distance.
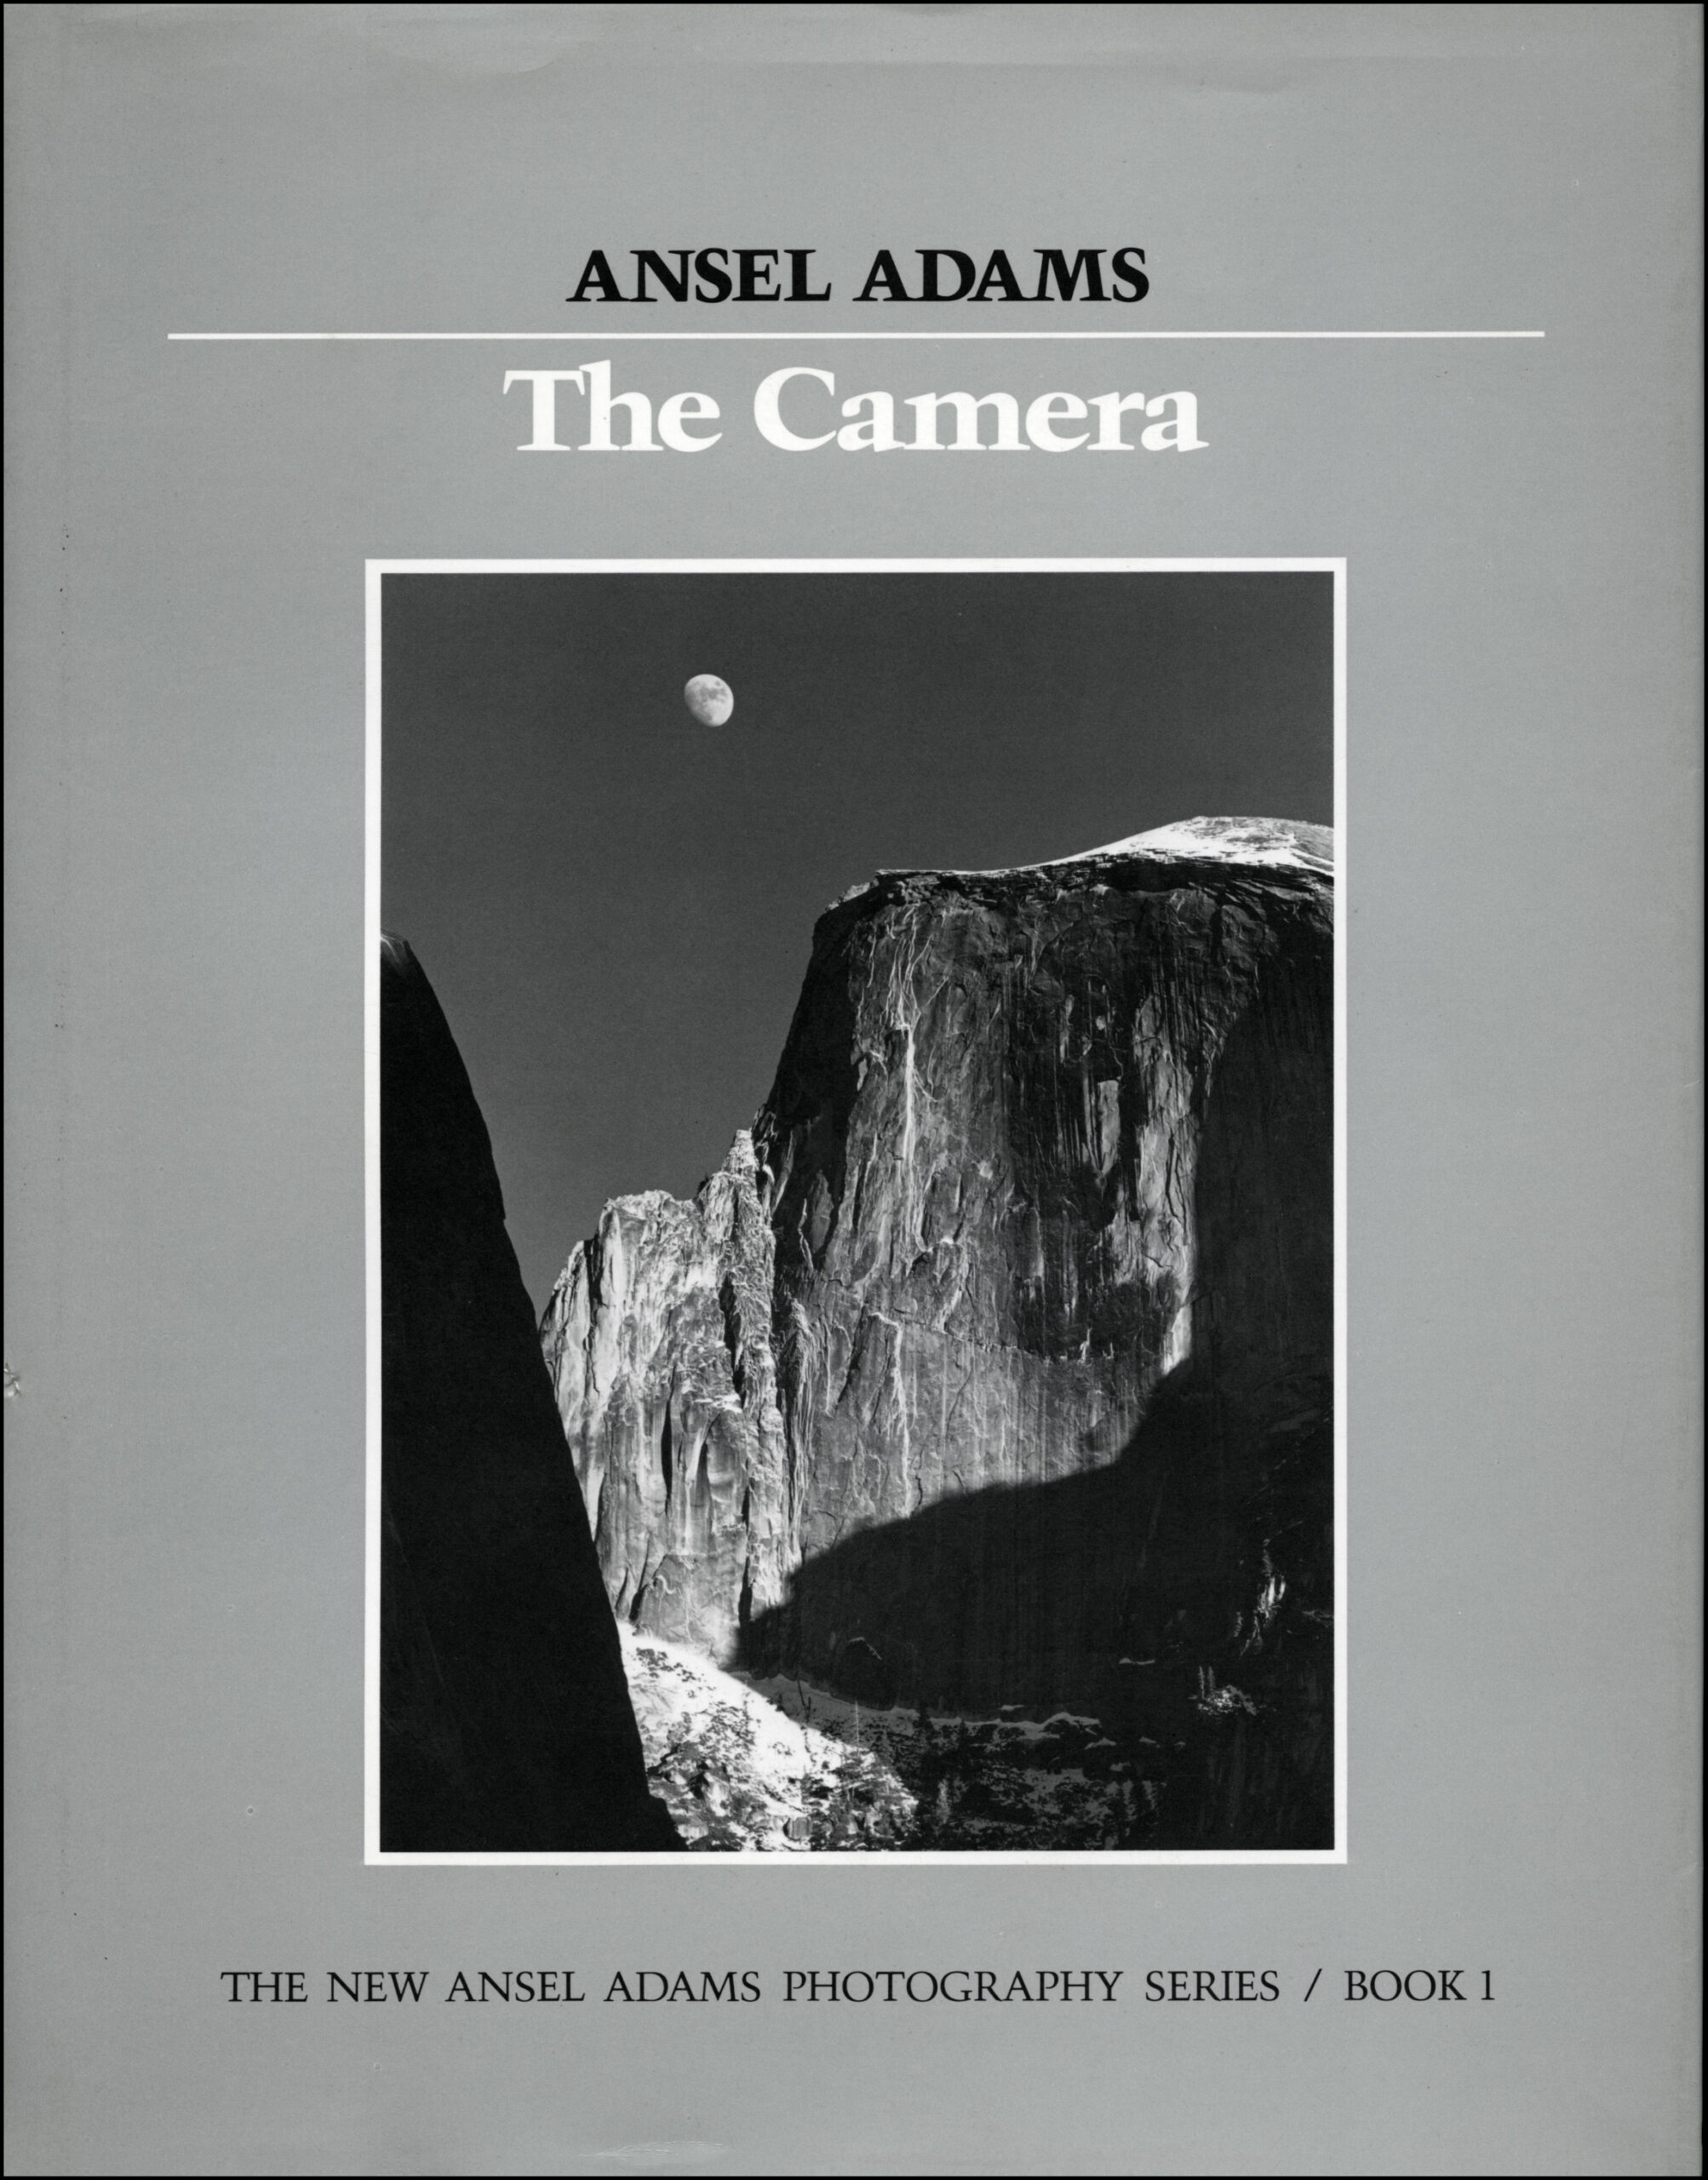
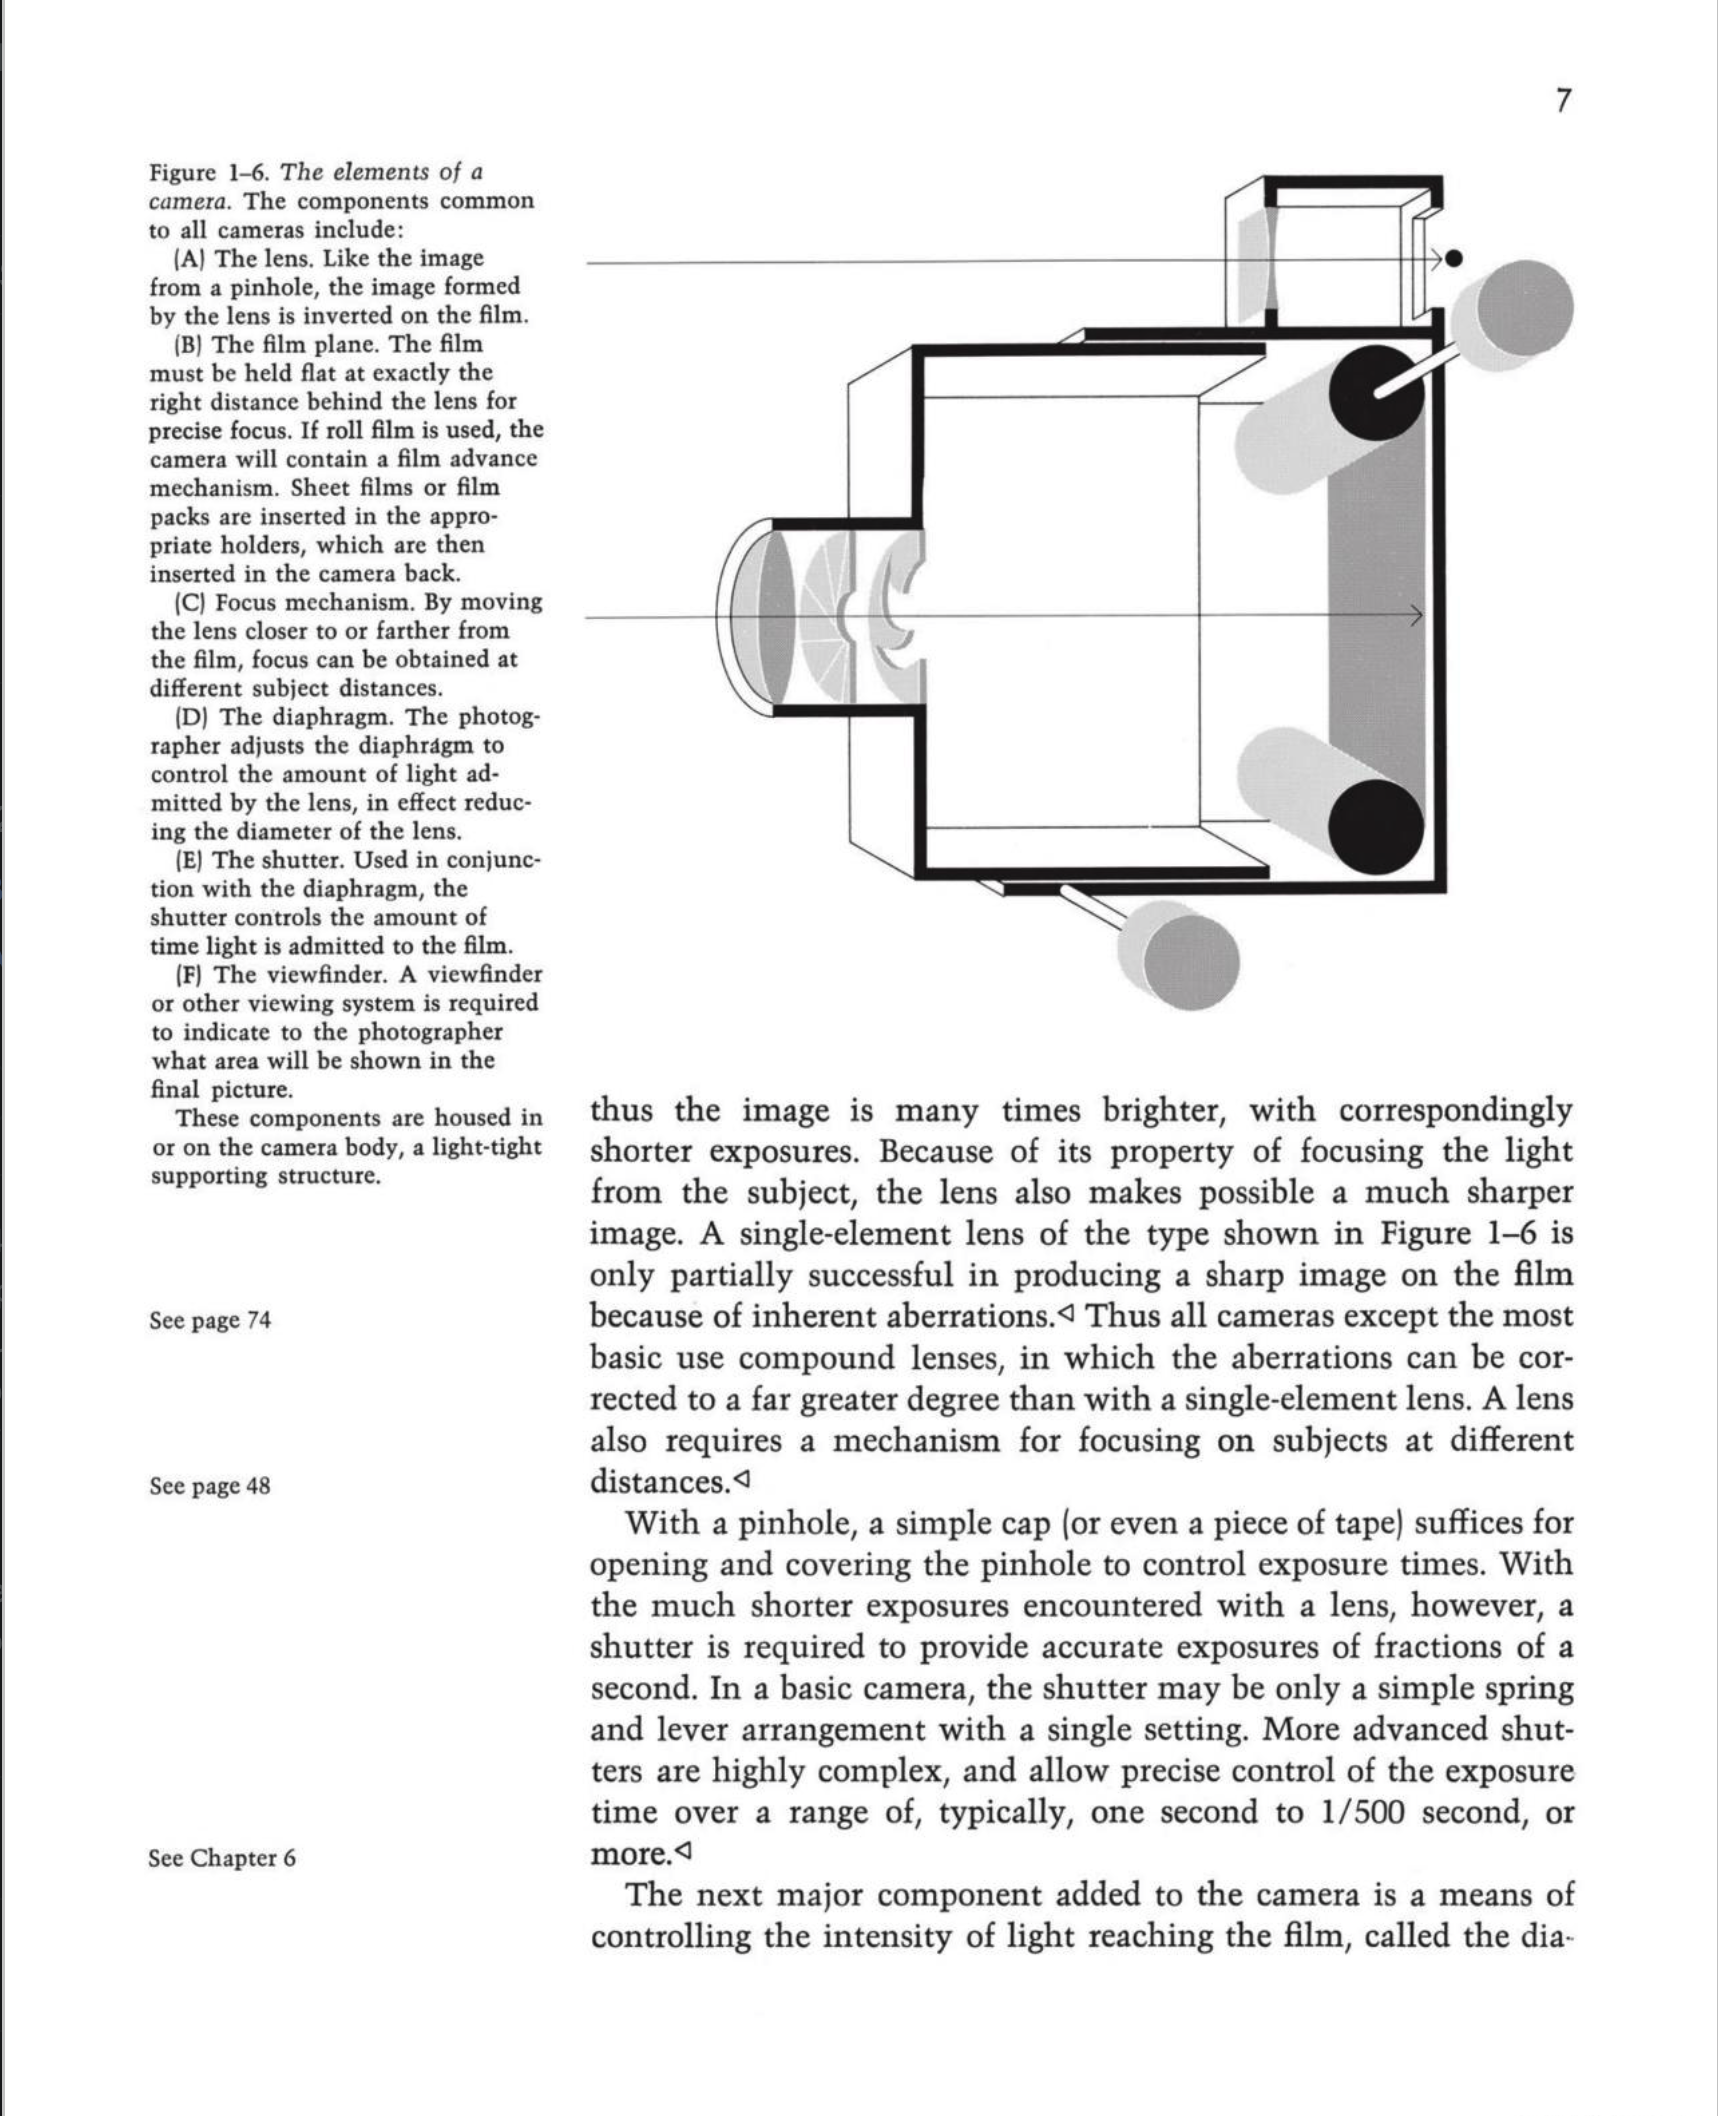
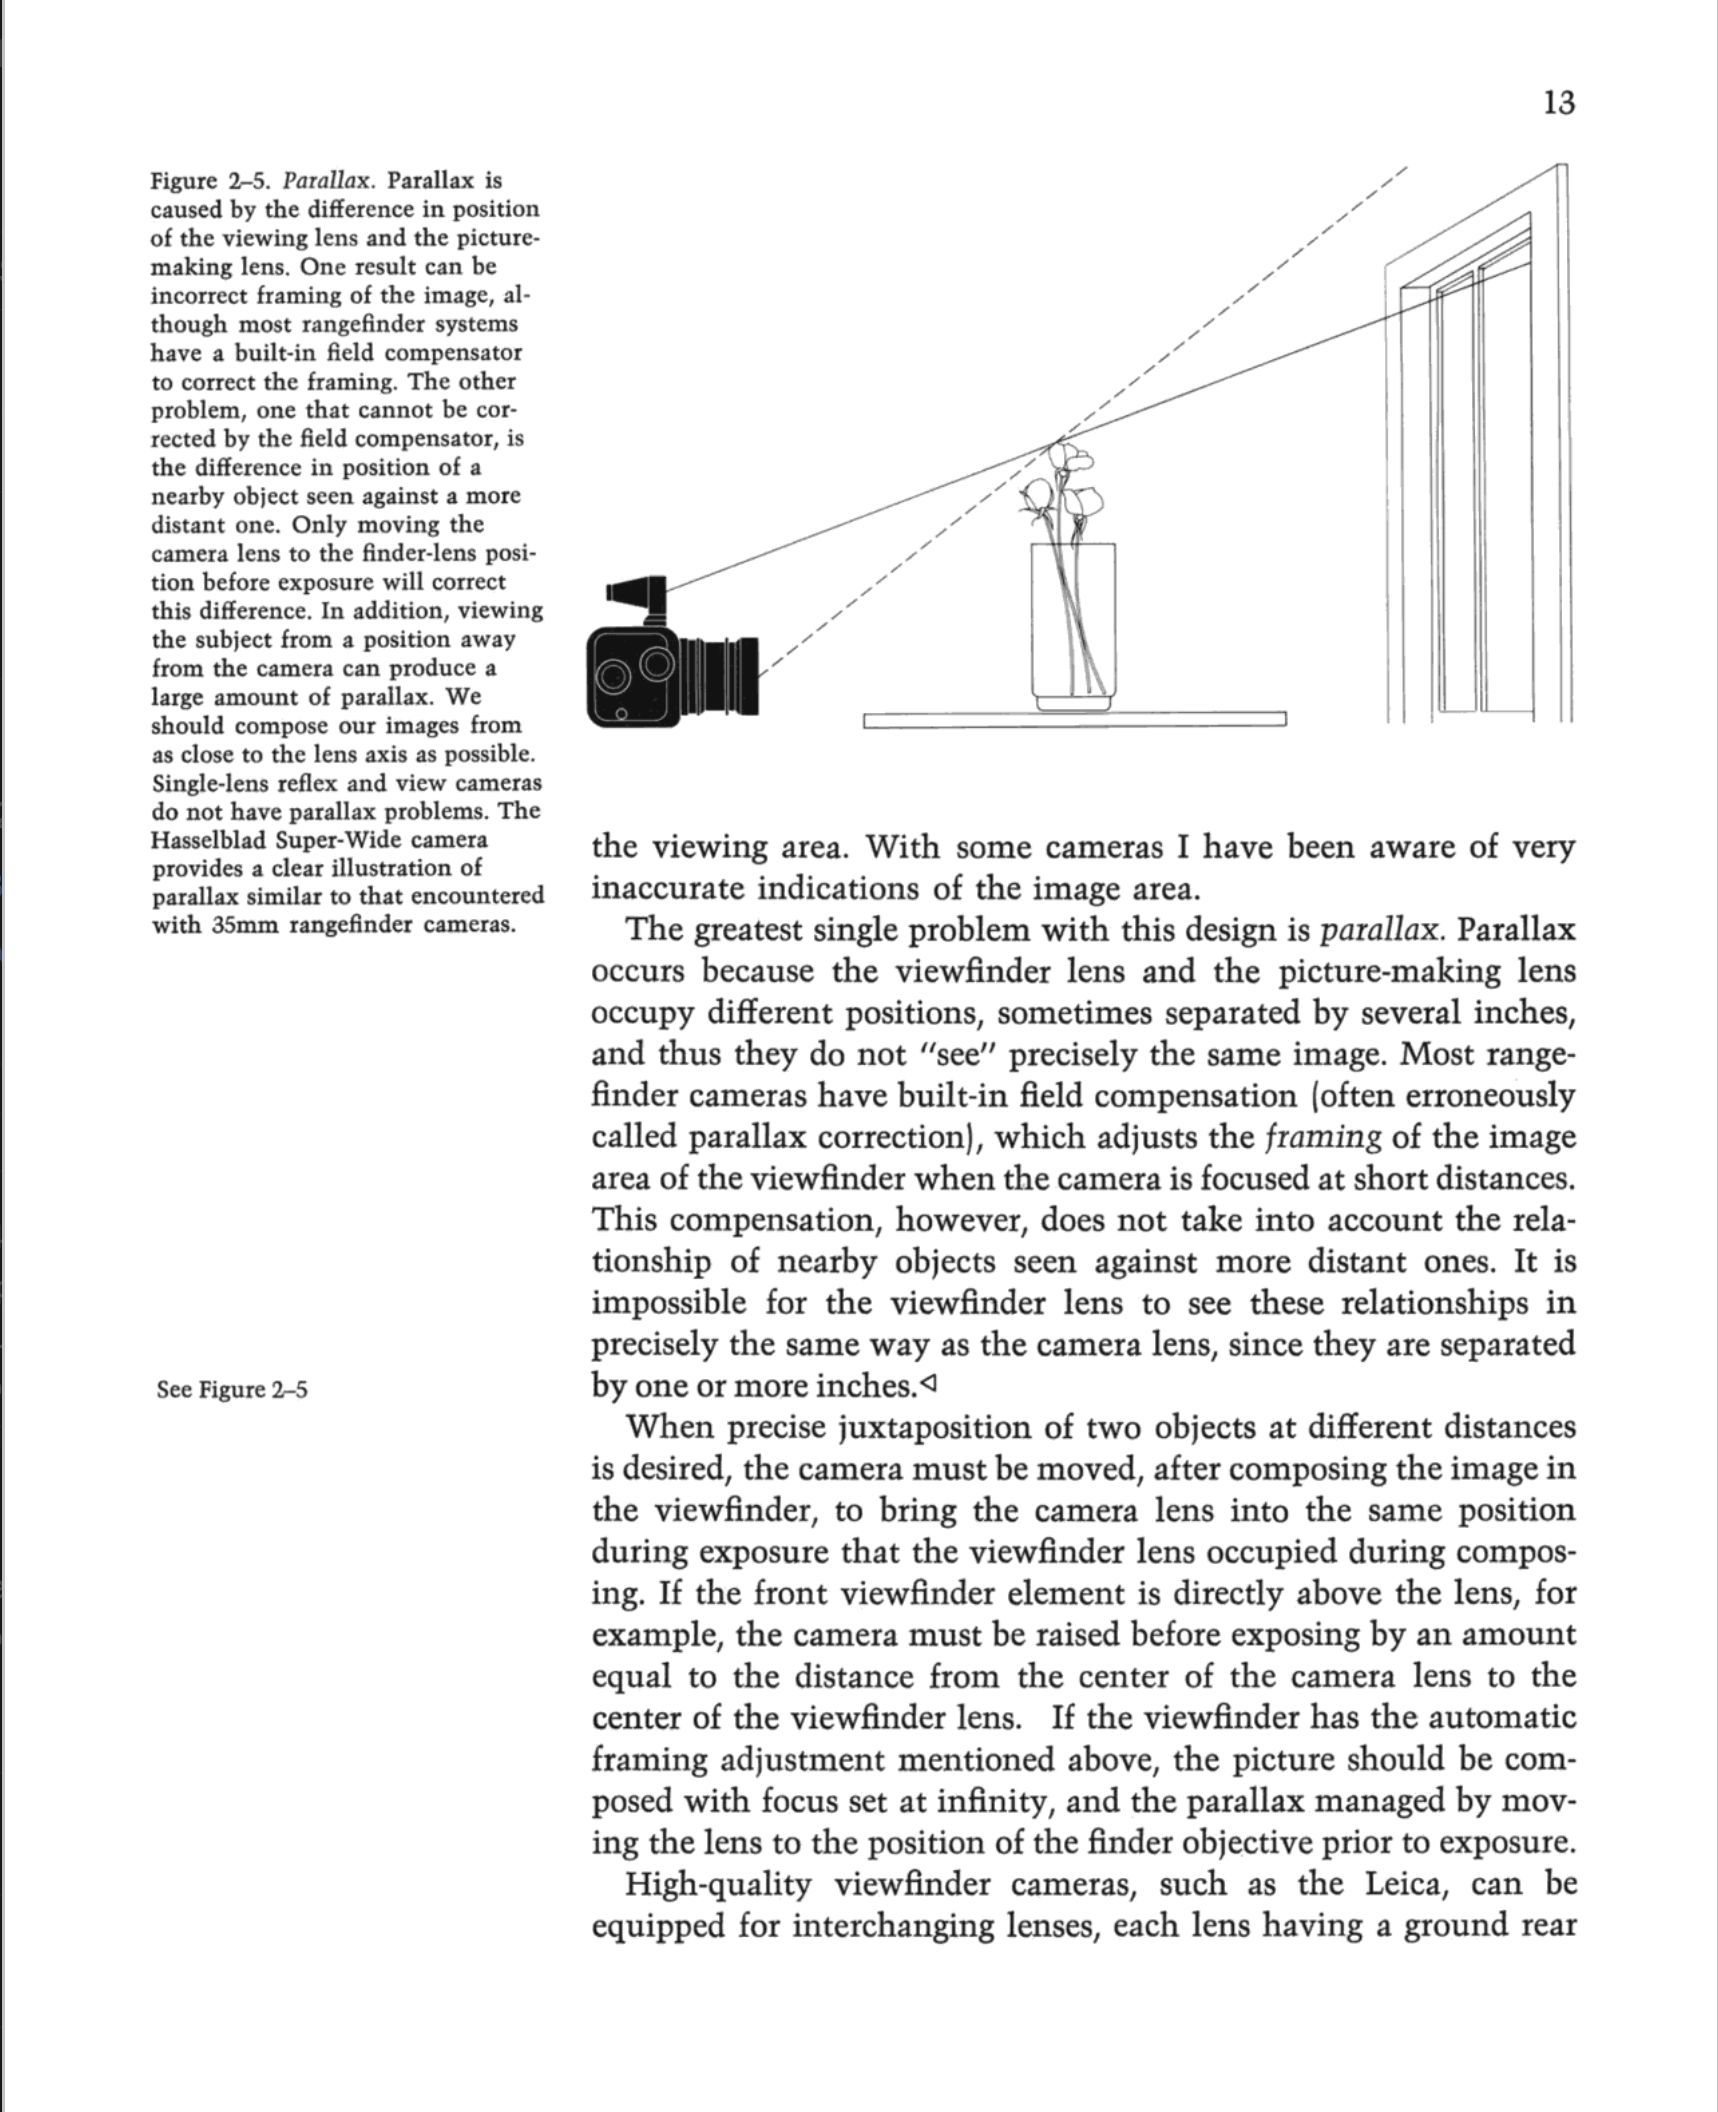
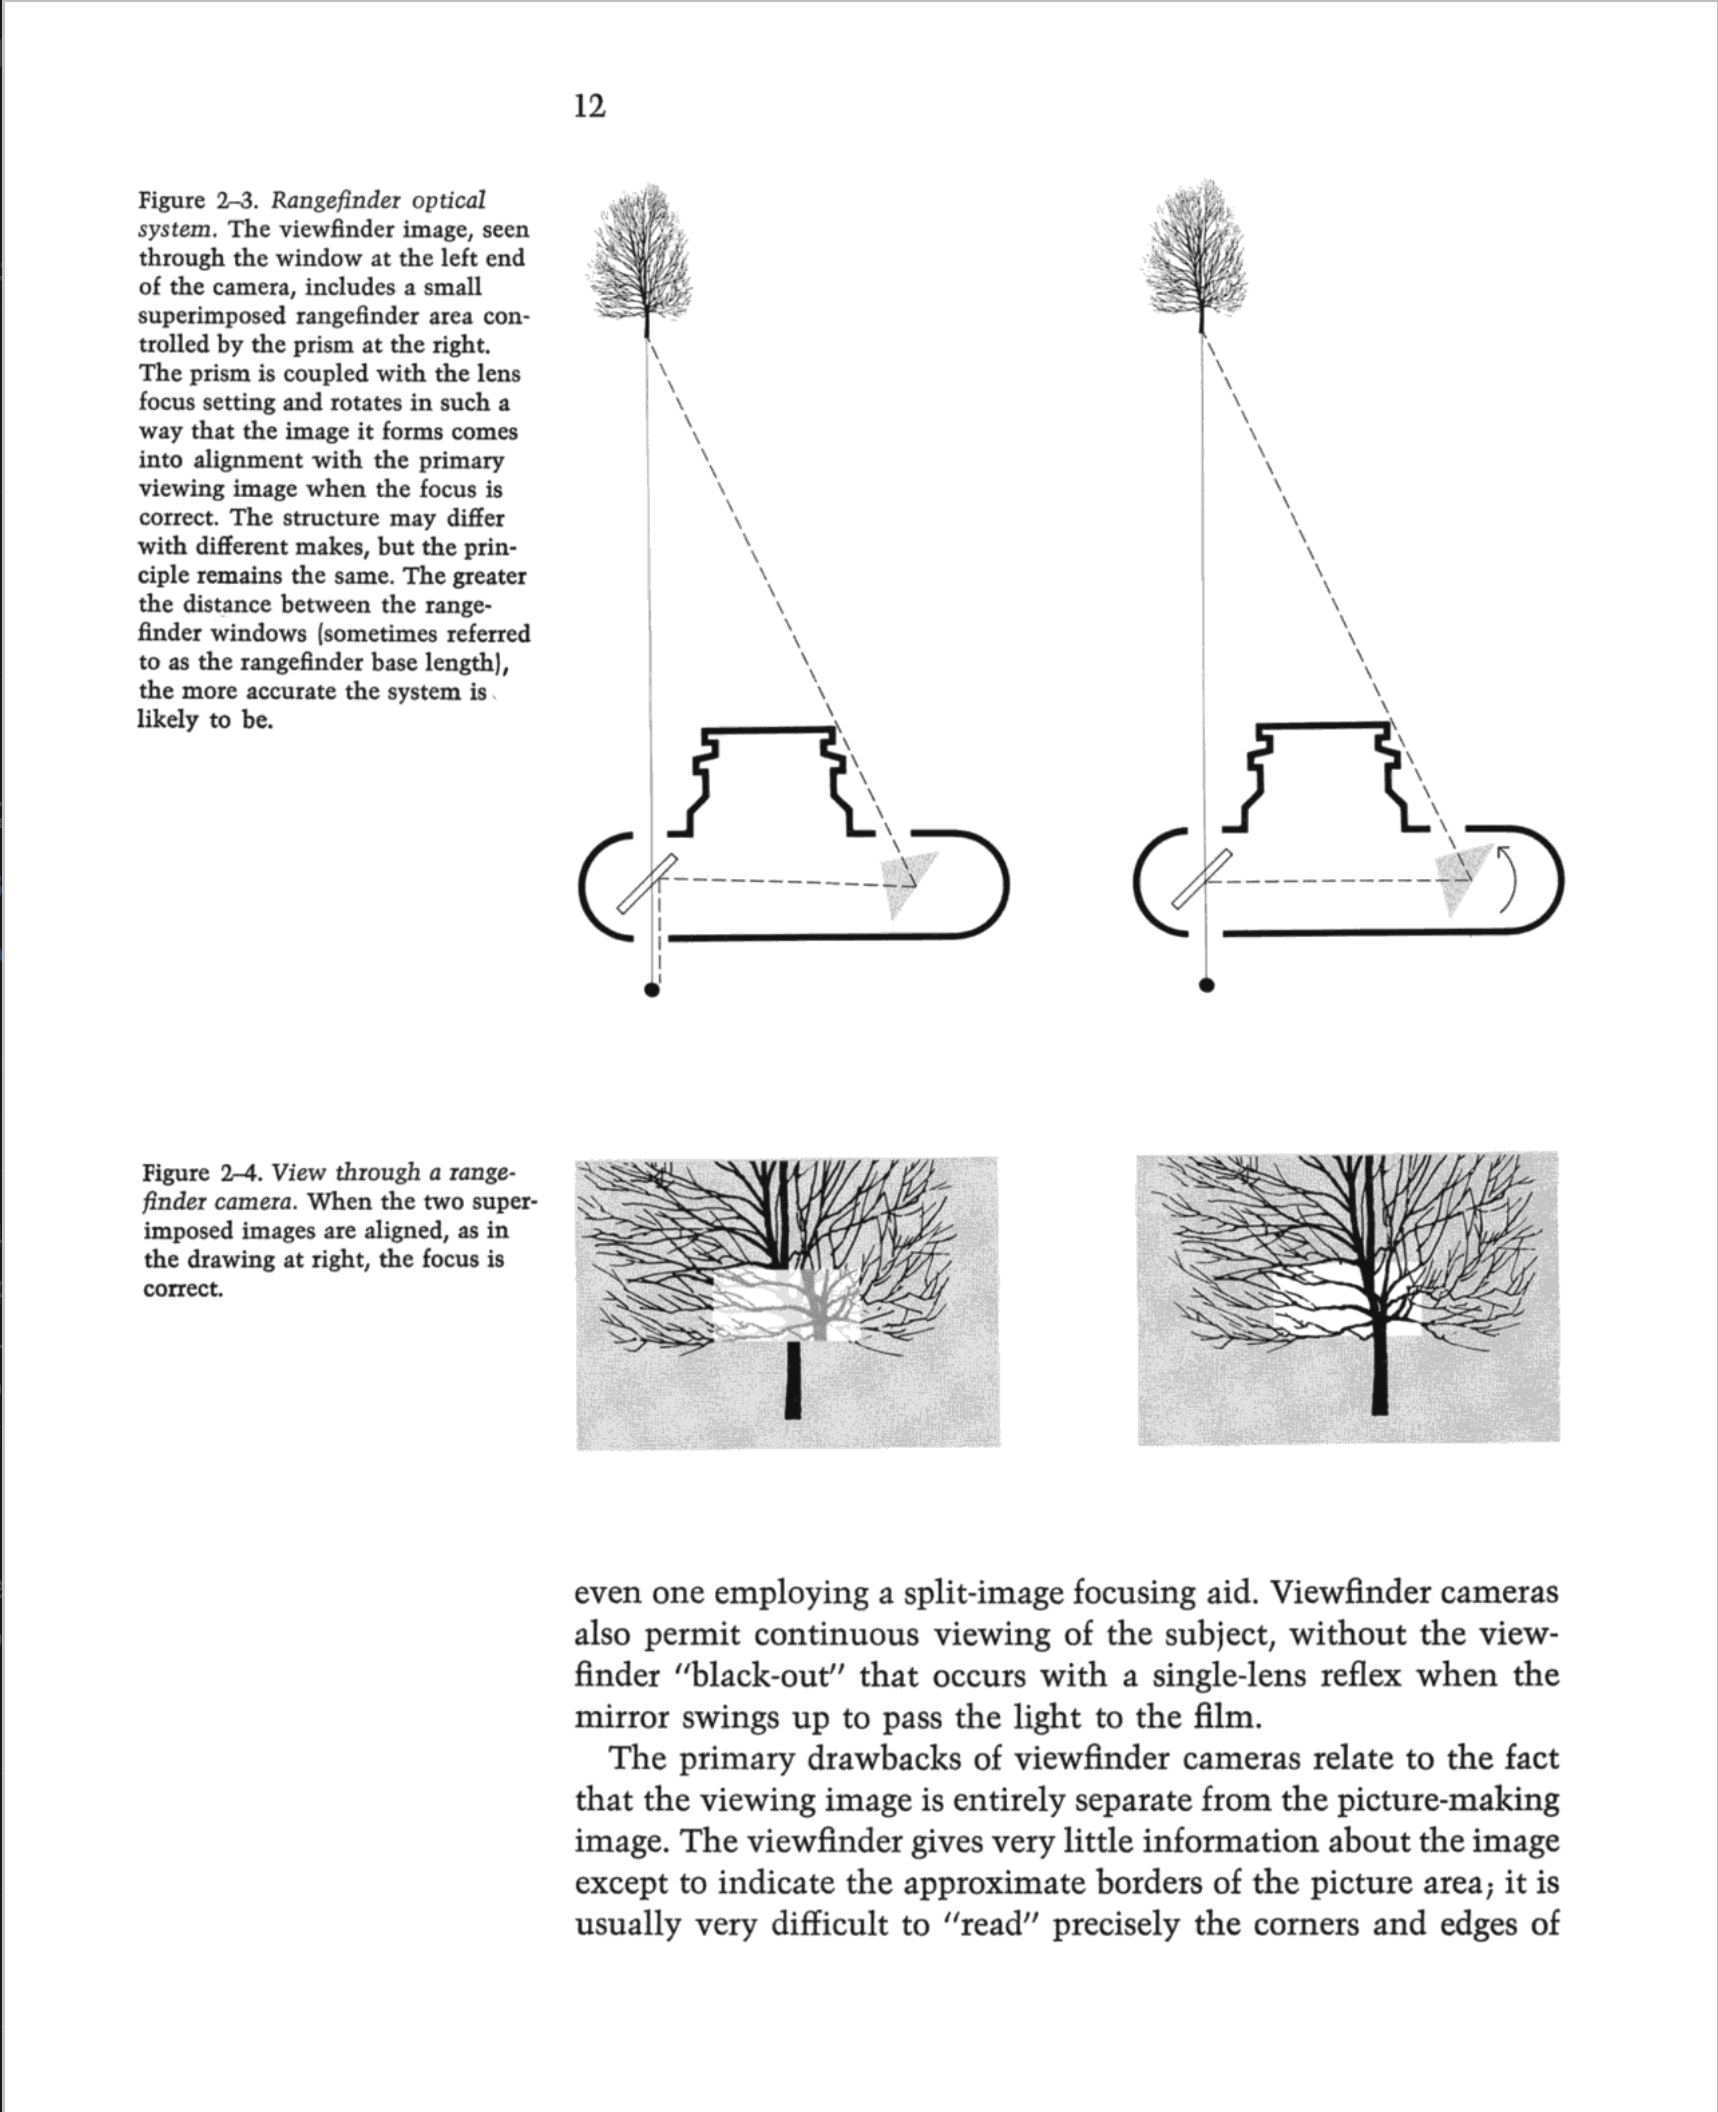
An excellent source of information on general photographic terms and a clear, nicely illustrated explanation of how cameras and lenses work is the timeless classic The Camera, by Ansel Adams.
I find his books to be as relevant today as when first published. If you don’t shoot film, you may not immediately appreciate the value of his other books in this three volume set, The Negative and The Print but the concept of Visualization, which is the notion that you must visualize in your mind’s eye the desired outcome of the image you wish to make before you snap the shutter, requires complete mastery of your image making process chain. For Adams this was the subject, light, composition, lens, camera, film, development, and printing. Digital photographers must also master their image making process chain which includes subject, light, composition, lens, camera, sensor, development (Lightroom, Photoshop, or similar application), and publication target (print, web, etc.). I talk more in depth about the image making process chain in the post Master Your Tools.
Film Technology
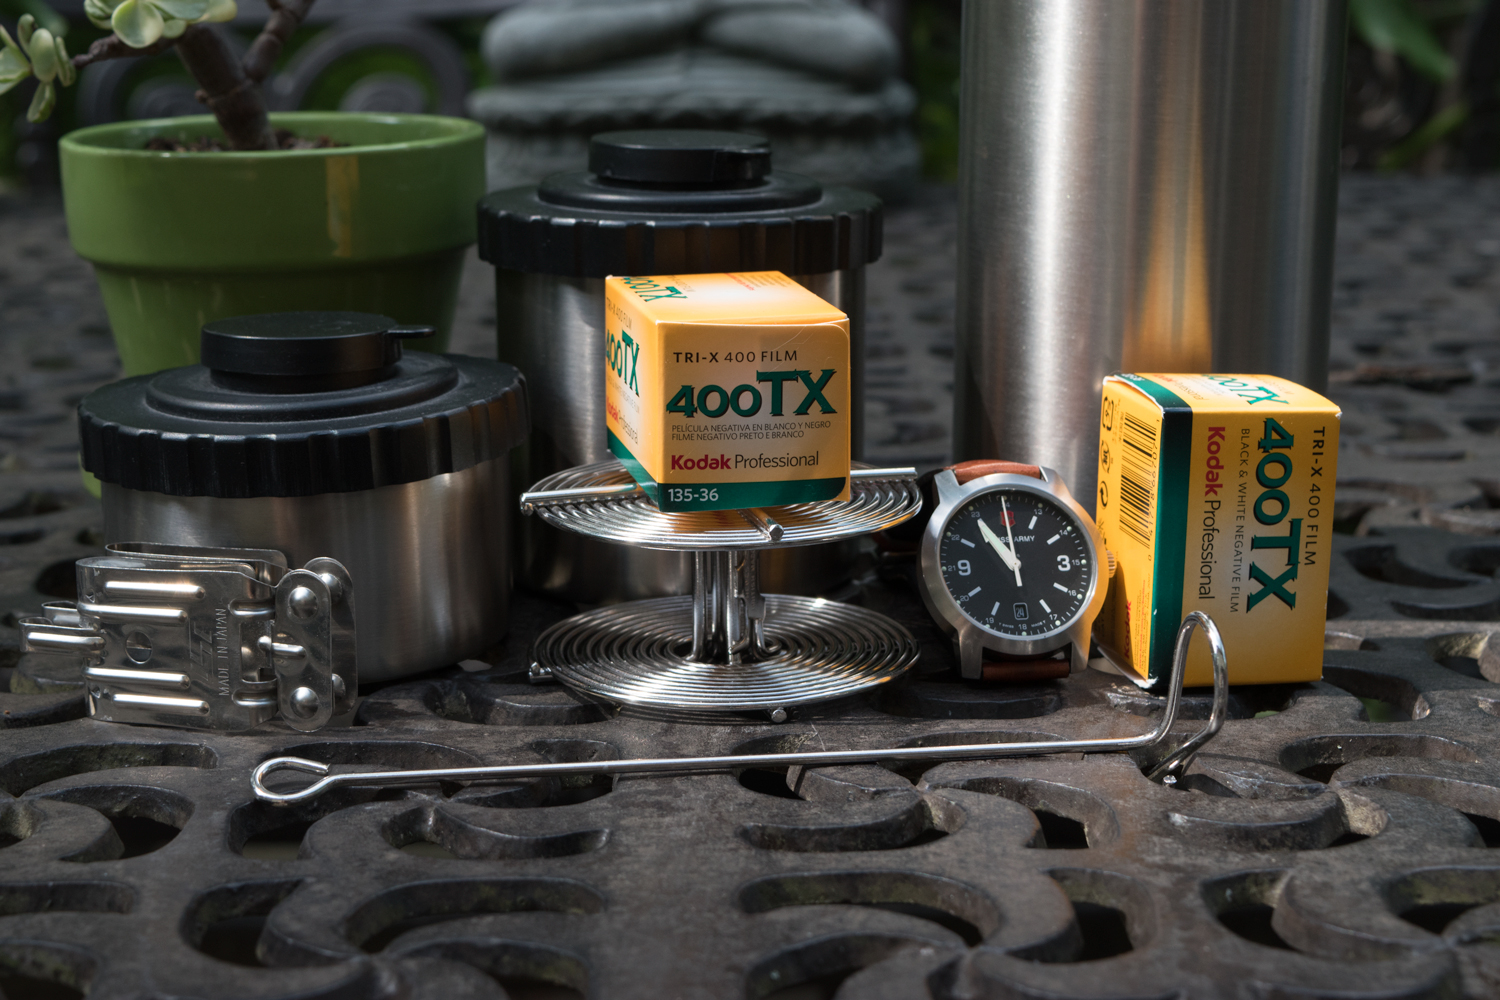
I consider myself lucky. I grew up shooting film. My camera of choice was the venerable Nikon F3HP, which is still my all-time favorite camera. Obtaining professional results with the medium of film requires deep understanding of the concepts of film grain, emulsion, base, Exposure Index (EI), sensitivity, latent image, and halation, not to mention film and print development processes and techniques. Shooting film first made it easy for me to transition to digital photography since many concepts fundamental to film photography apply as well to digital photography.
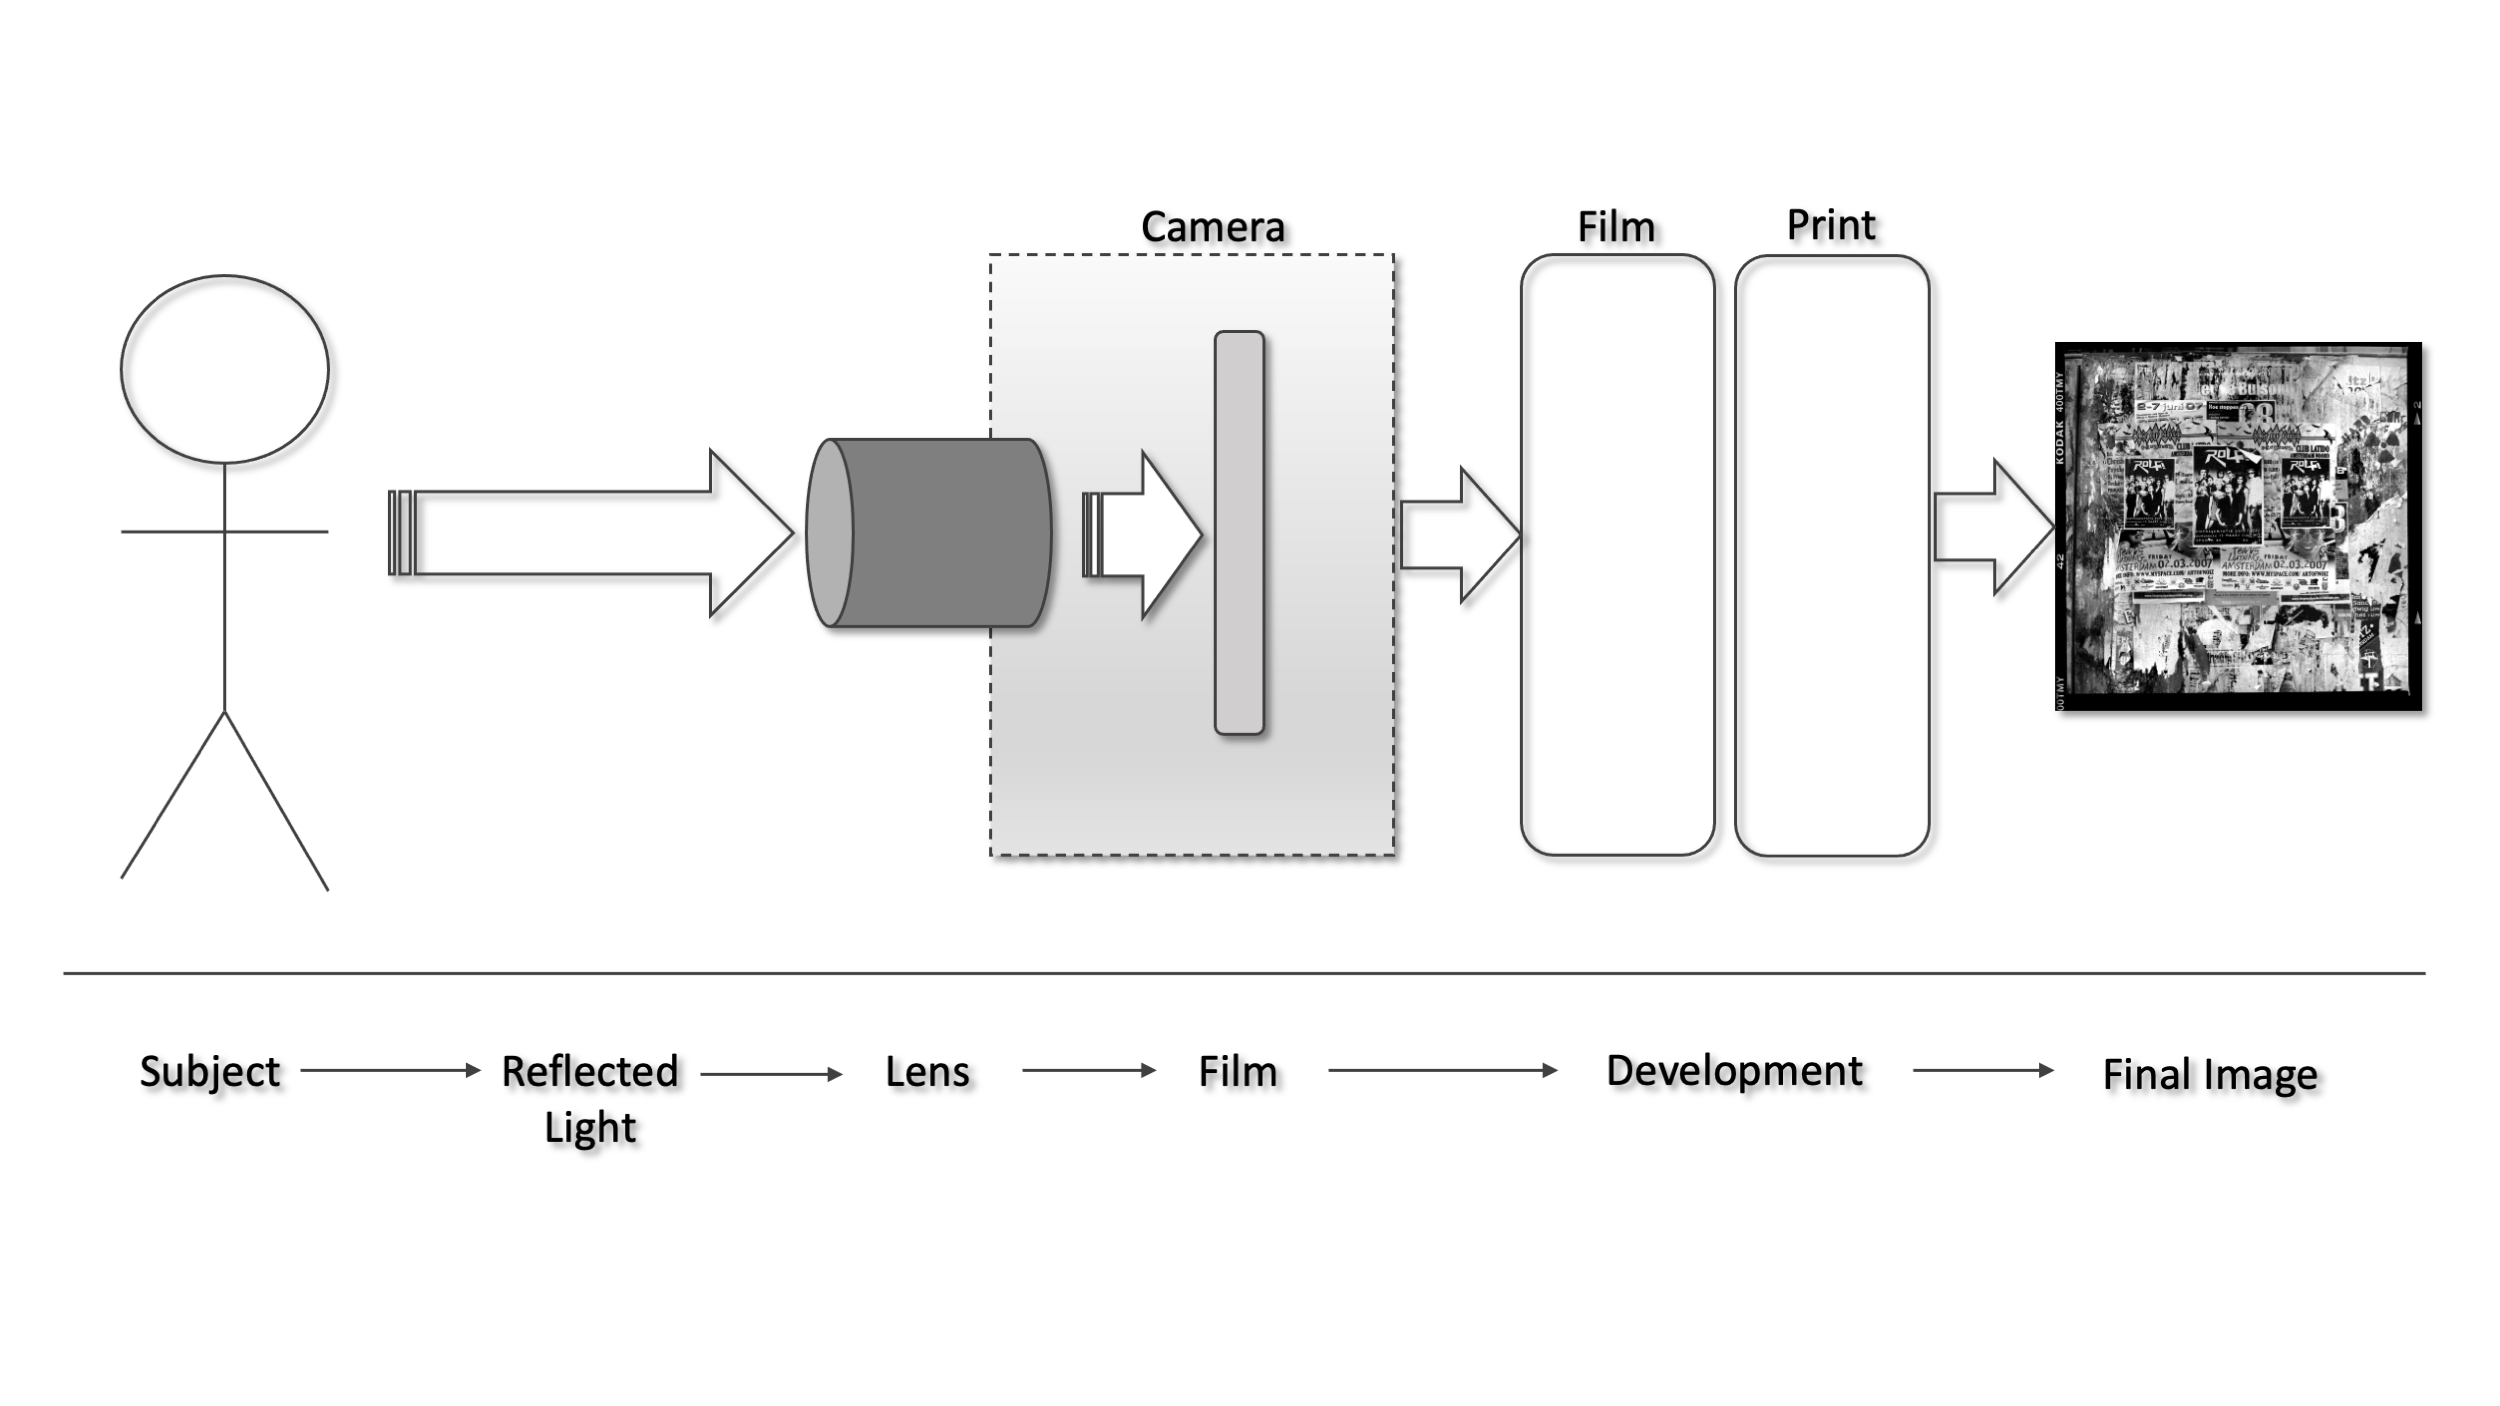
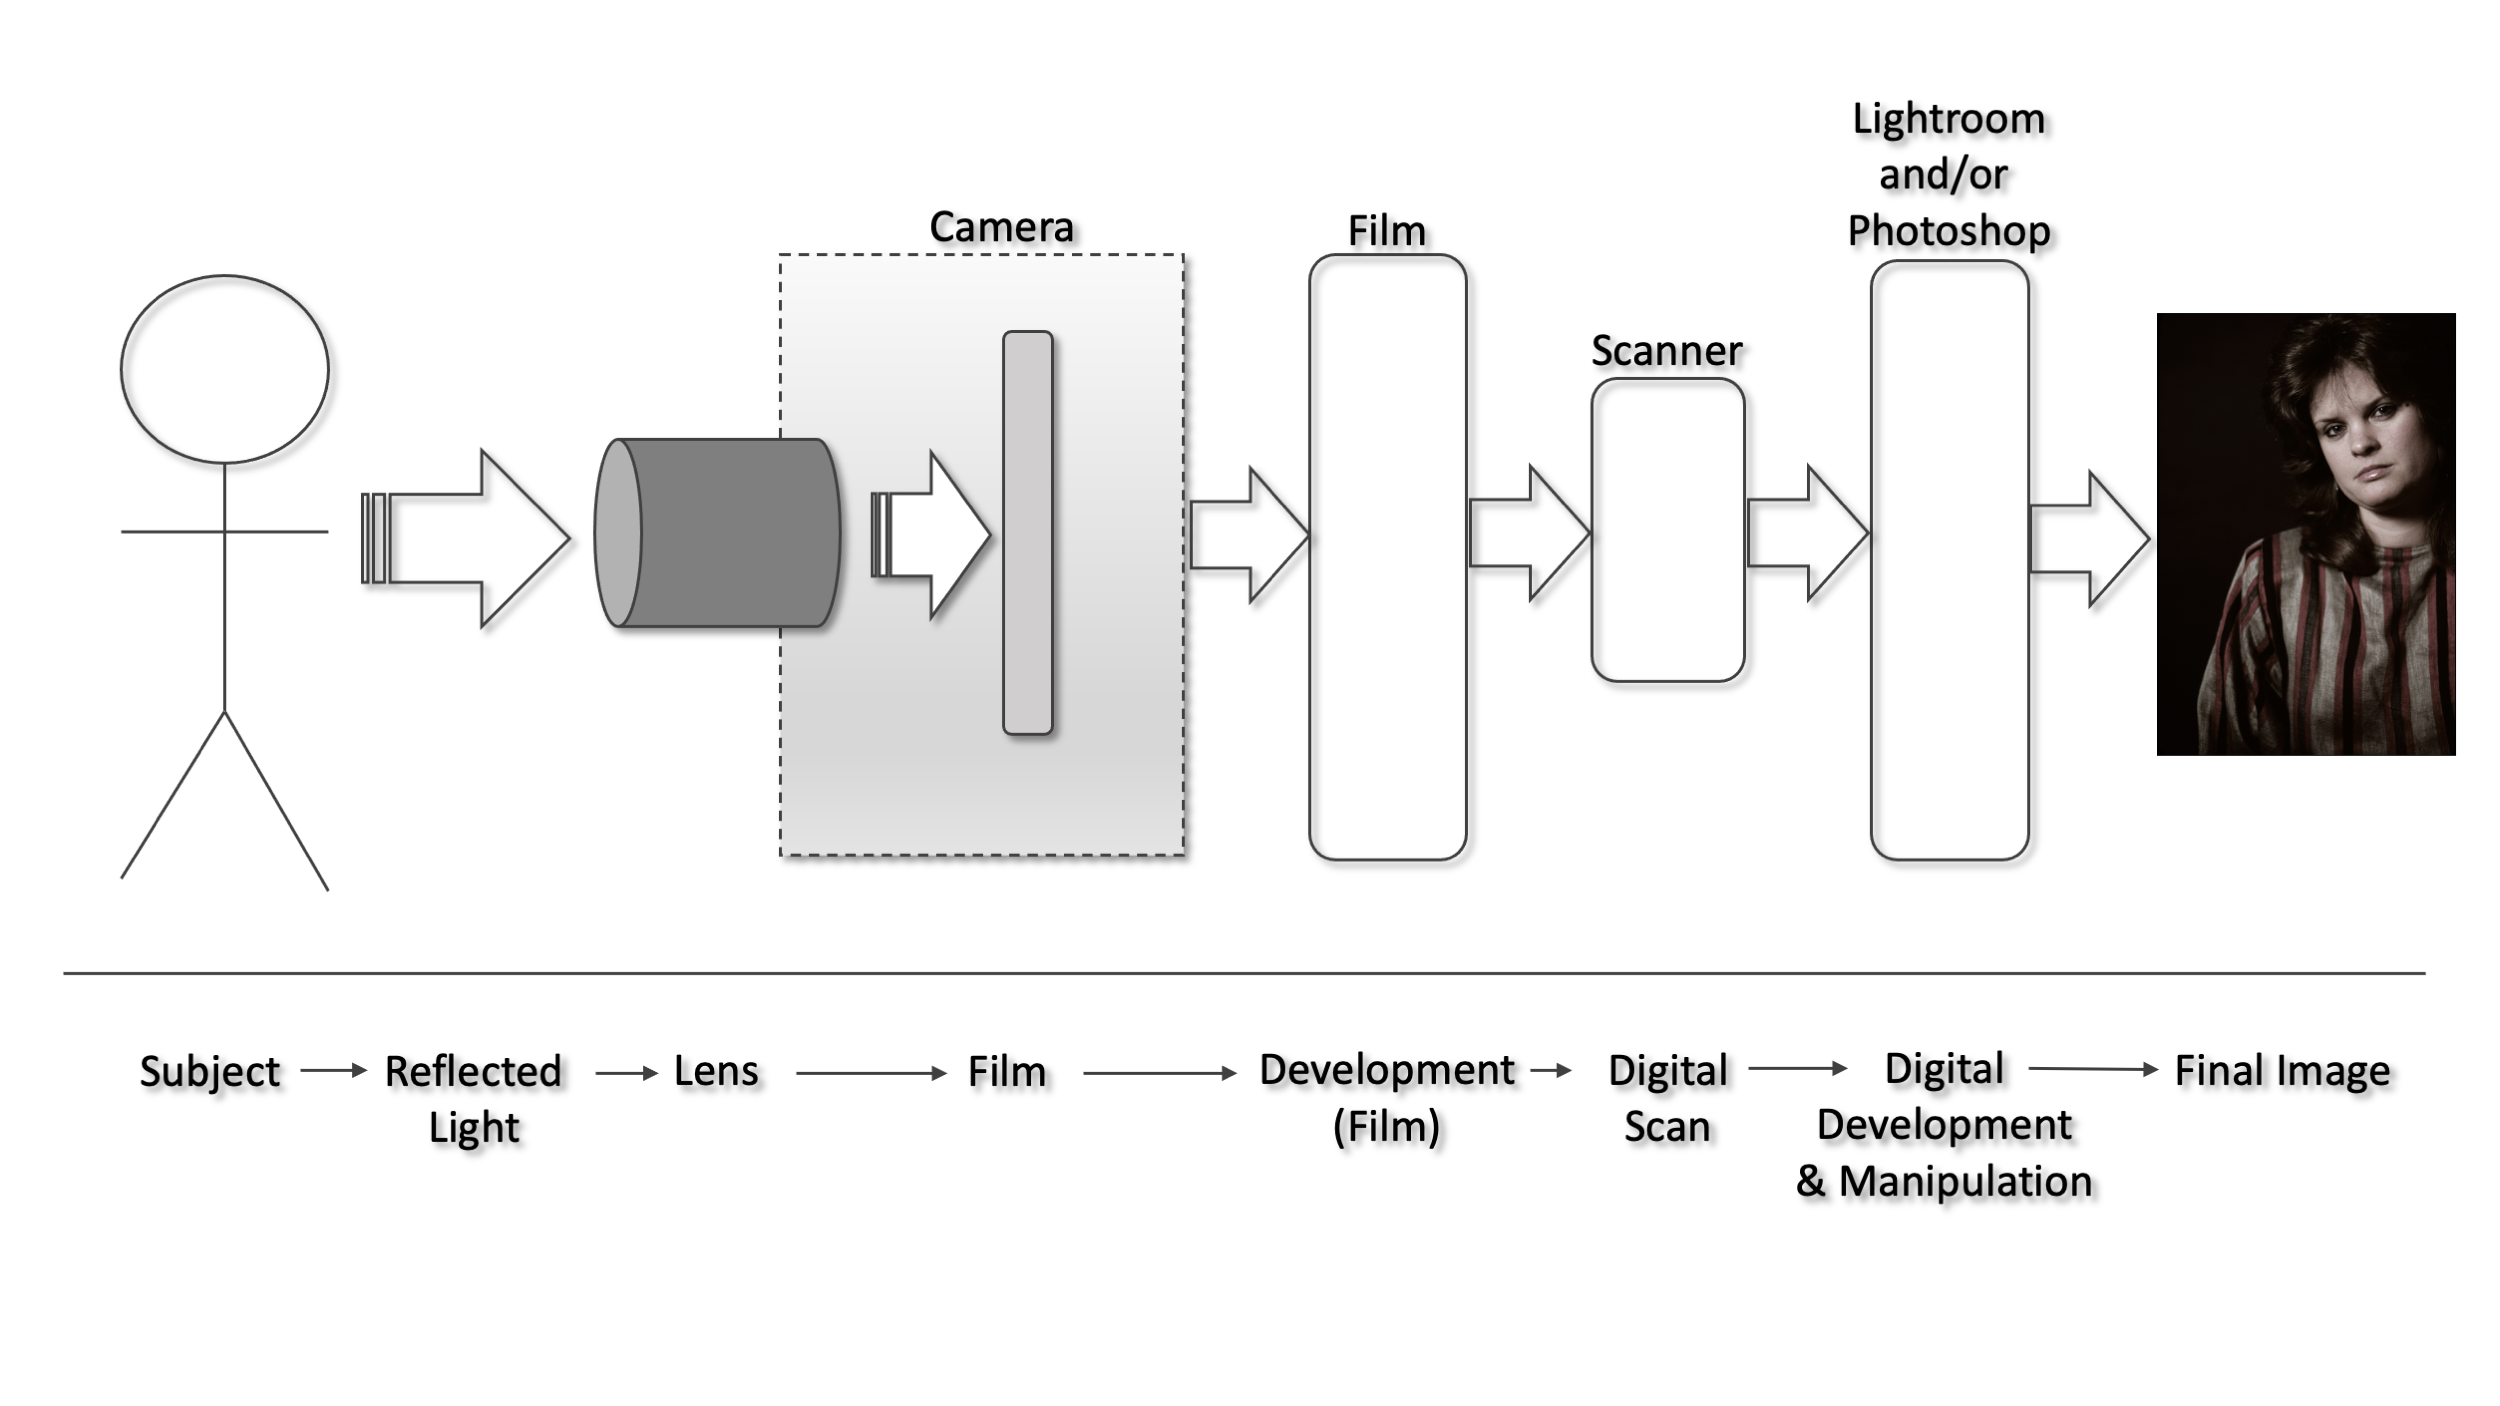
The simplified film image making process is depected below.
Light reflected off the subject enters a lens where it is concentrated and focused upon the film plane. When the shutter is released light strikes the film and leaves a latent image. To bring out this latent image, the film must be developed to produce a negative (or positive if using slide film). The negative is placed in an enlarger (not shown) and projected onto light-sensitive paper which must be developed to produce the final image.
There are many challenges associated with film photography. First, what is the camera size? This could be anything between 110 instamatic, 16mm, 35mm, 70mm, 4 x 5, 5 x 7, 8 x 10, and larger. Next, you must make a choice to shoot either black & white, color negative, or color positive film. Within those categories there reside many different types of film with different color characteristics and speeds. Fast films with a high ISO rating will produce grainer negatives thus grainer prints.
Serious amateurs and professionals either had their own darkrooms or sent out their negatives to professional photo processing labs. To have full control over the process you really needed to do it yourself.
Digital Technology
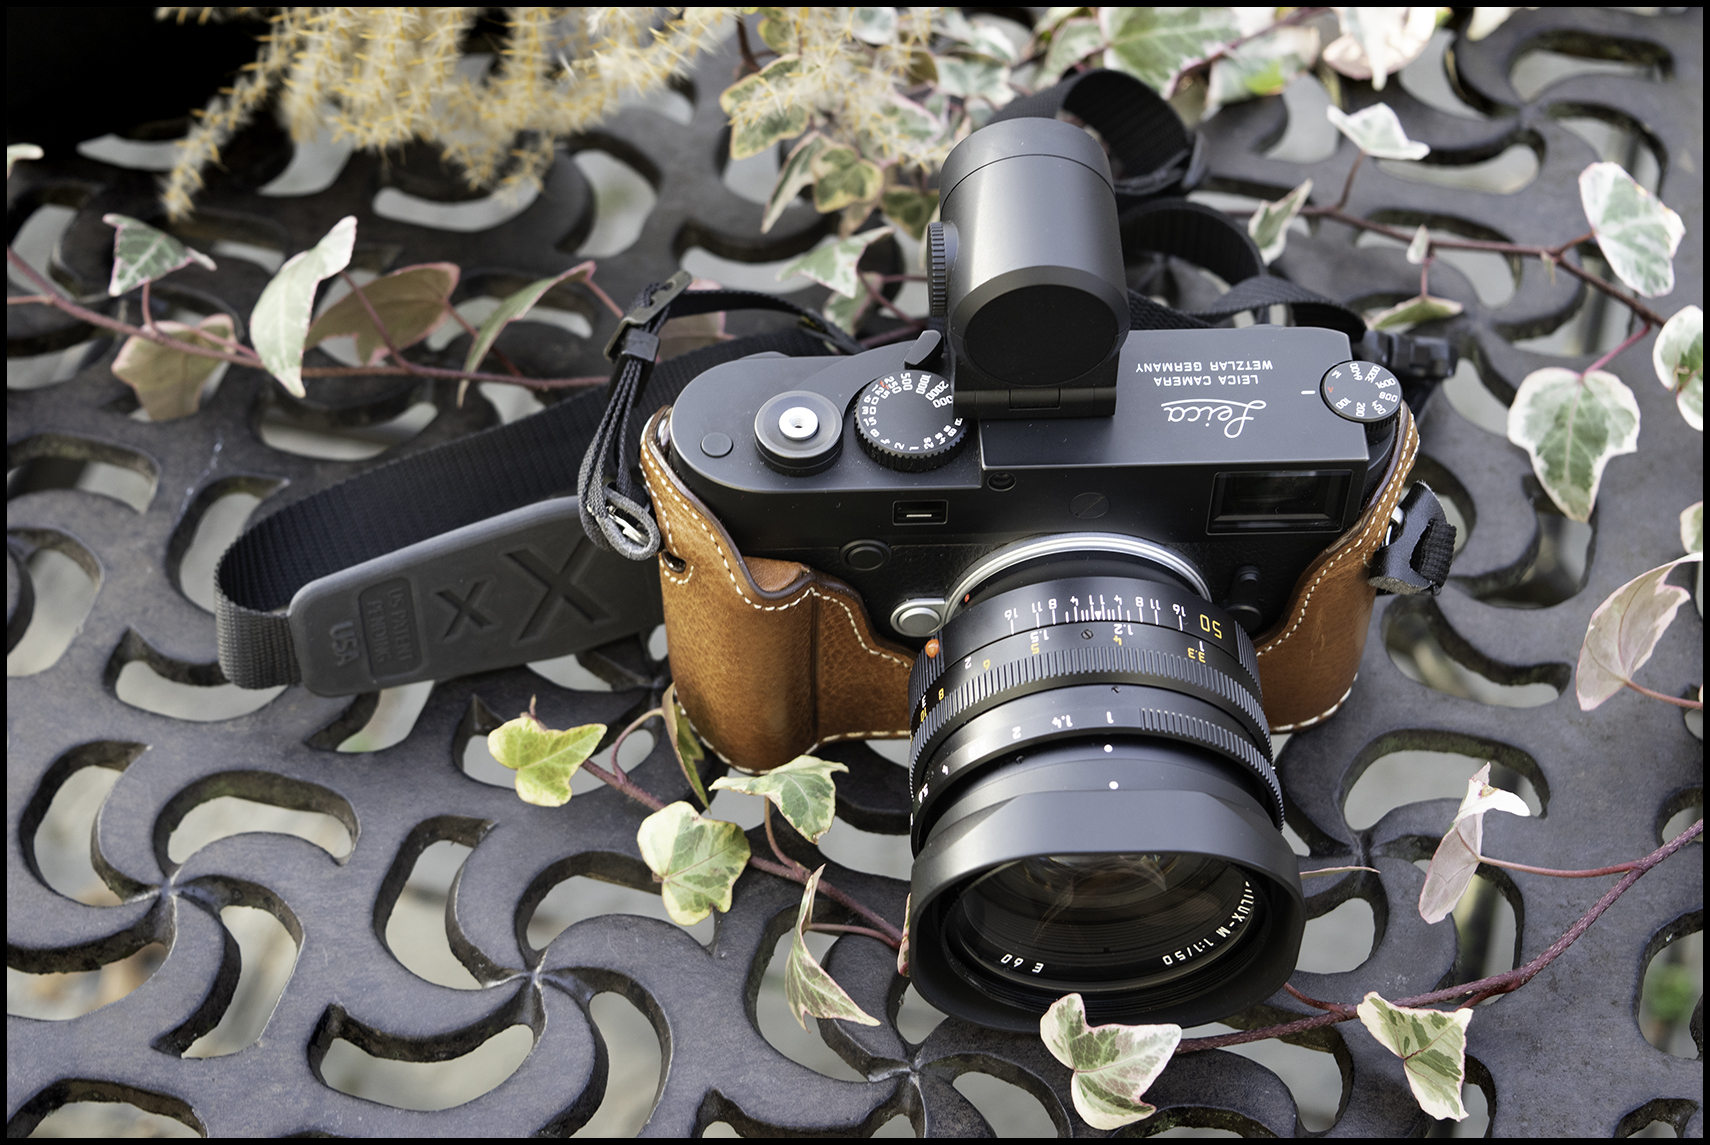
A lot goes on in the digital photography image making process between the moment you snap the shutter to the final image. Beginners tend to assume the resulting image is based on reality. Nothing could be further from the truth. (And neither is the image produced with a film camera.) The biggest ah-ha moment a novice photographer experiences comes when they realize the light they see with their eyes reflected from the subject undergoes a fundamental transformation into the image they see on their camera or computer screen. The bulk of this transformation occurs within the camera’s lens and the camera’s sensor. It’s also affected by the camera’s software.
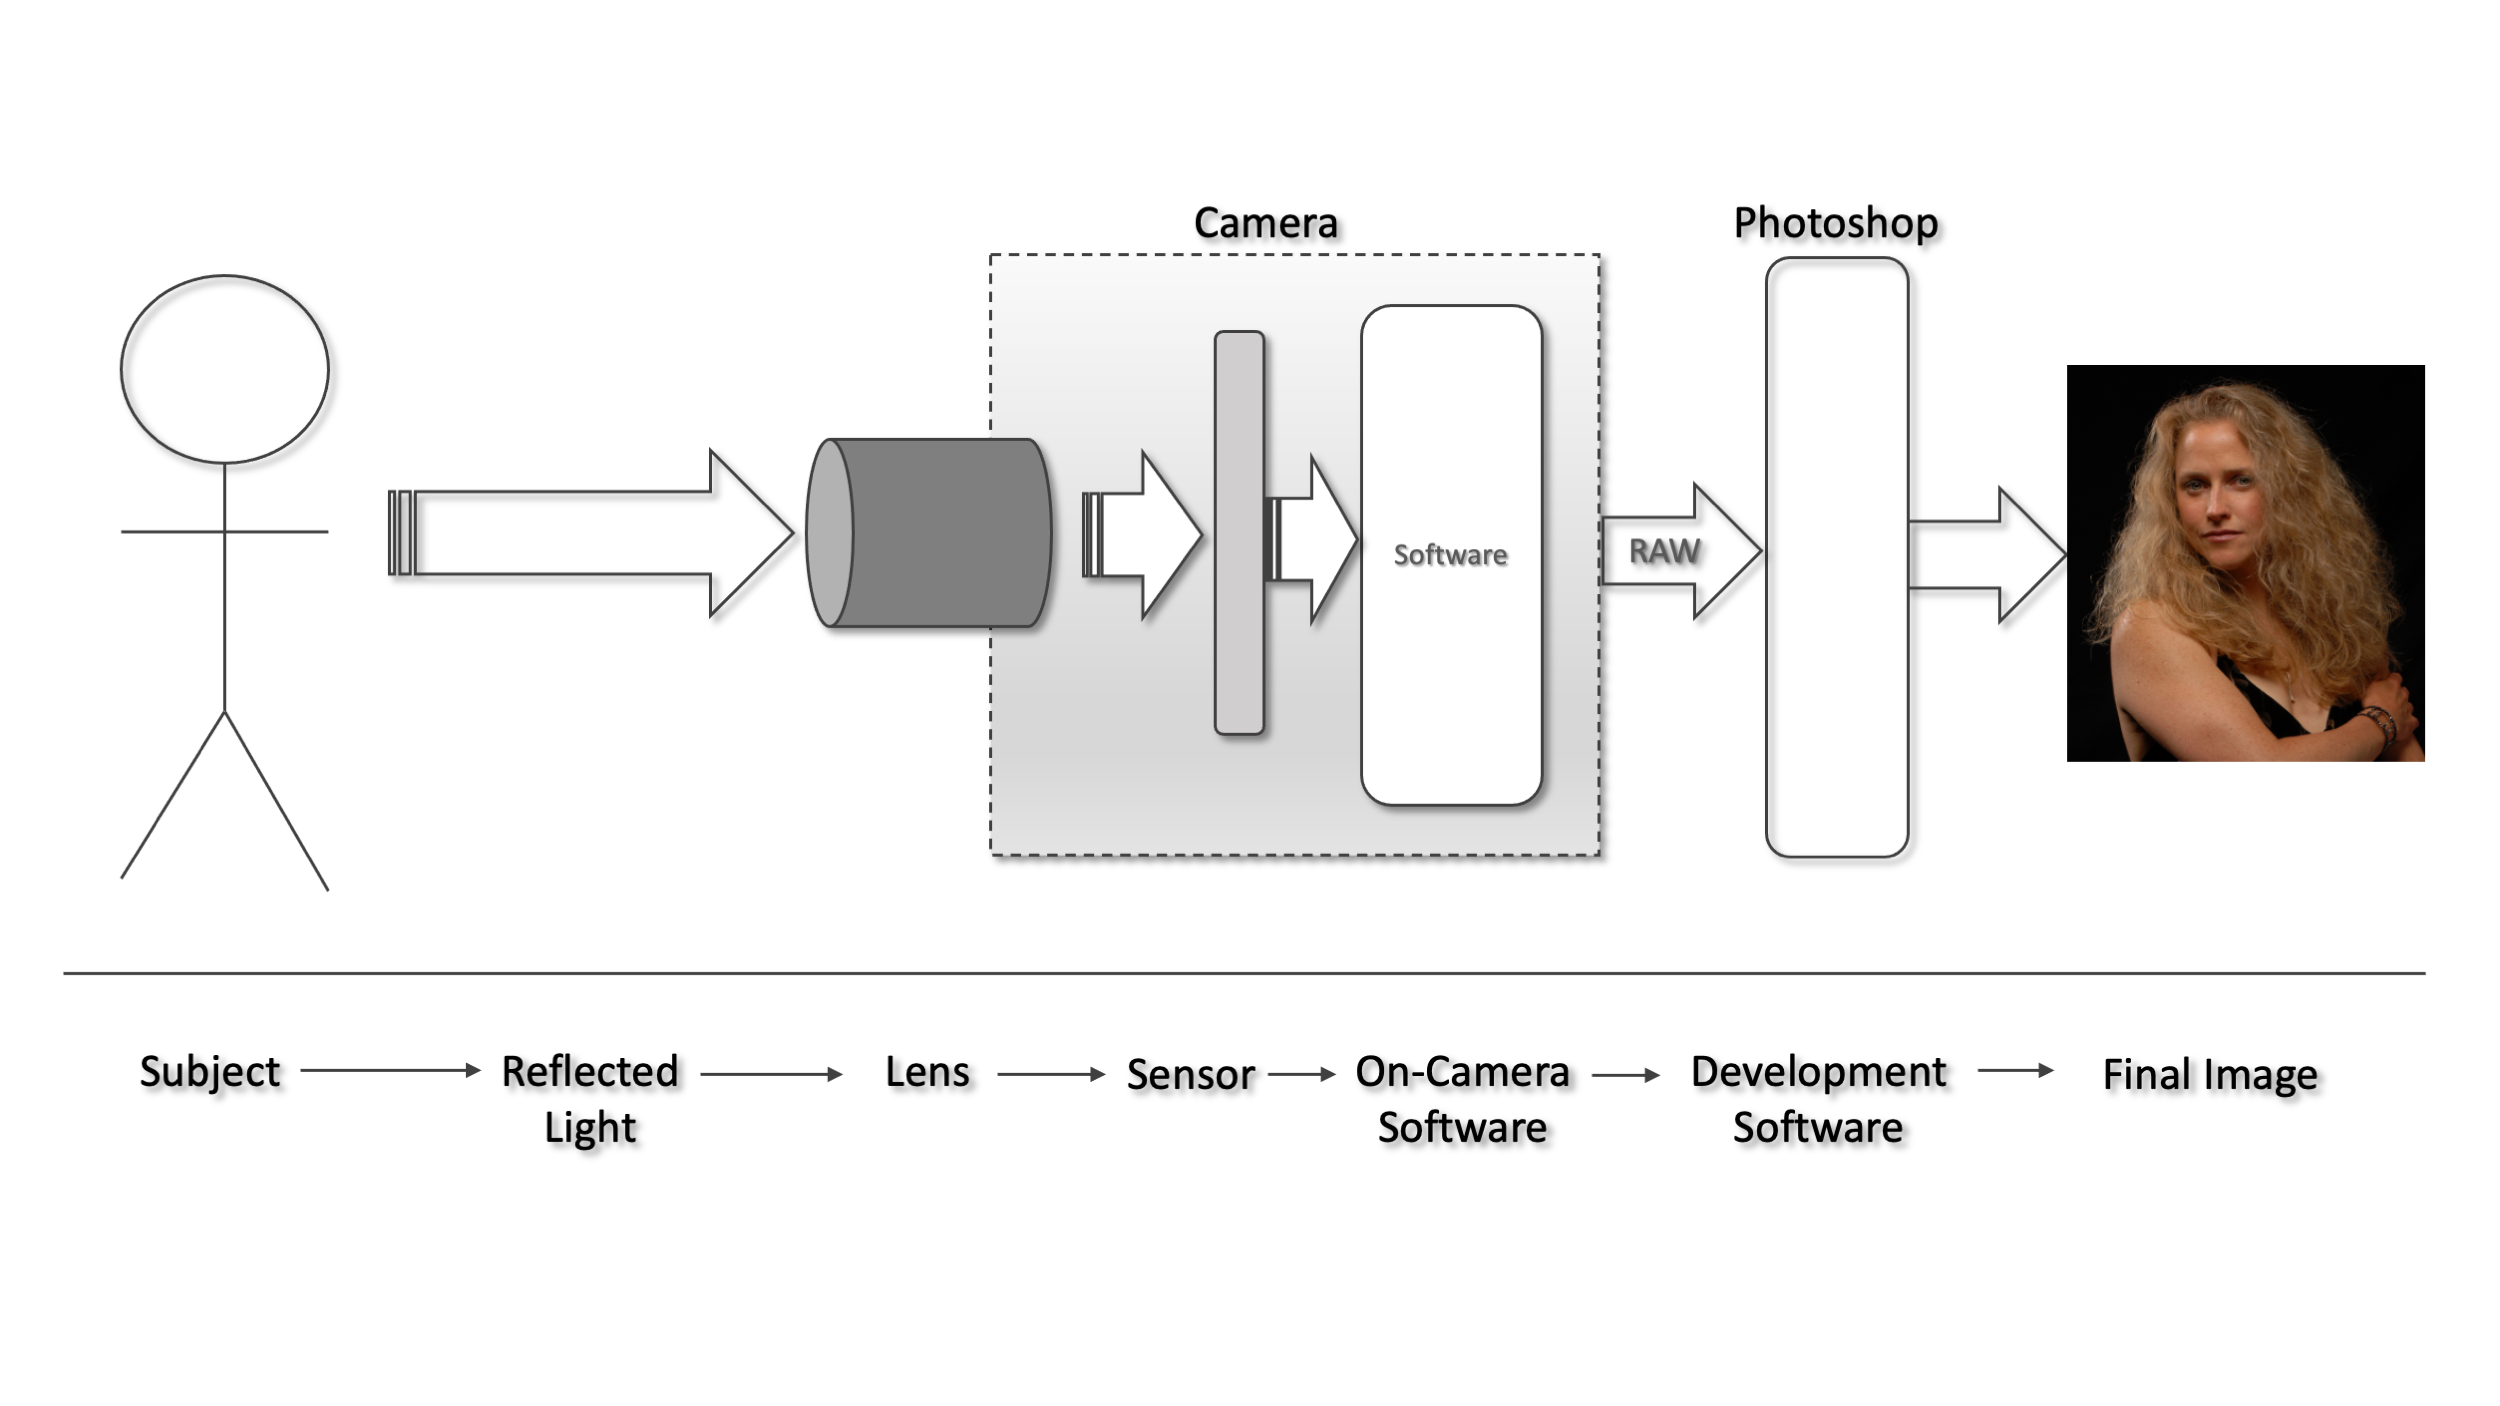
The following image depicts the simplified digital image making process flow.
The digital image making process shares many similarities with its film process counterpart with the exception that a hardware sensor now captures and processes the light supplied by the lens and all development happens in software either within the camera or external via specialized programs like Photoshop or Lightroom.
The Hybrid Film/Digital Image Making Process
Many photographers employ a hybrid image making process. They capture images on film which they then develop to produce negatives or slides. The film is then scanned to produce digital files which can then be further developed and manipulated in Lightroom and/or Photoshop.
Note that the hybrid image capture process can take place today or be decoupled by decades or longer. I personally have many thousands of negatives and slides taken and processed during the 1980s and 90s which have been carefully stored over the years. Recently, within the past several years, I have prioritized the scanning and cataloging of my image archive. More recently, I enjoy using film cameras I’ve collected over the years to take photographs. I then develop the film and scan the negatives.
From the perspective of the pure enjoyment of photography, the hybrid image making process combines the best of both worlds, that is, if you enjoy the challenges of making images with film cameras.
The Role Of Sensors In The Digital Process
If you are to successfully apply the concept of Visualization, you must be aware of the different types of camera sensors and what type of sensor your camera employs. Sensor types include Charge Coupled Device (CCD), Electron-Multiplying Charge Coupled Device (EMCCD), Complementary Metal-Oxide-Semiconductor (CMOS), and Back Illuminated CMOS. Each sensor type puts its unique stamp on the captured image. Sensor size impacts the final image as well as how the sensor transforms light into an image.
Visualization And The Digital Process
Ansel Adams said that a film negative was akin to a musical score and a print was a particular performance of that score. This concept applies as well today in the world of digital photography, where an image produced by a camera’s sensor, generally saved to a computer-readable file in camera RAW format, can be worked and manipulated a thousand different ways to produce the final image. Achieving the desired final images is easier if the digital photographer uses Visualization to imagine how they want the final images to look like. Armed with this vision, the photographer may need to make several different images with the intent of creating a montage in Lightroom or Photoshop. In fact, through the use of Visualization, the chances of producing the desired final image are significantly enhanced.
Novice photographers might be happy to let their camera enhance their images for them. Such enhancements are usually found on consumer-grade digital cameras. Taking a picture in black and white mode or letting the camera add special film effects may seem like a wonderful shortcut to cool pictures, and these features are cool I must admit, but if you want to produce professional images, you’ll soon realize that you care more about what digital information has been captured by the sensor vs. letting the camera’s built-in algorithms render the image unusable. As you move from novice to serious amateur, you’ll begin to appreciate the information contained with an image’s histogram more than whether or not your camera can add sepia tone.
Composition
The key to good image making is a fundamental understanding of the principles of photographic composition. Composition is defined in simple terms as the arrangement of elements within an image and their juxtaposition to each other. Photographic composition is determined primarily by the photographer’s vantage point, camera format, and lens. Unlike composition in painting or drawing, which is an additive process, photographic composition is a subtractive process. By additive process, I mean an artist making a drawing or painting adds to their composition only those elements they want to appear in the image. The photographer is commonly faced with the opposite dilemma. They must take great pains to exclude undesirable elements from a picture before releasing the shutter. This may require shifting their vantage point before taking the picture or removing the offending element in post process. Still, understanding the fundamentals of photographic composition will help you to produce a better image to use as a point of departure.
Common composition techniques, listed here in no particular order, include The Rule of Thirds, golden ration, negative space, perspective, framing, symmetry, contrast, repetition and pattern, shadows, balance, focus, motion, proportion, rhythm, and unity.
Summary
Master the fundamentals. This includes learning and internalizing the terminology associated with photography as well as cultivating an understanding of film and digital imaging making technology. Study also the rules of composition. Understand the differences between composition as it relates to painting and drawing and photographic composition.


