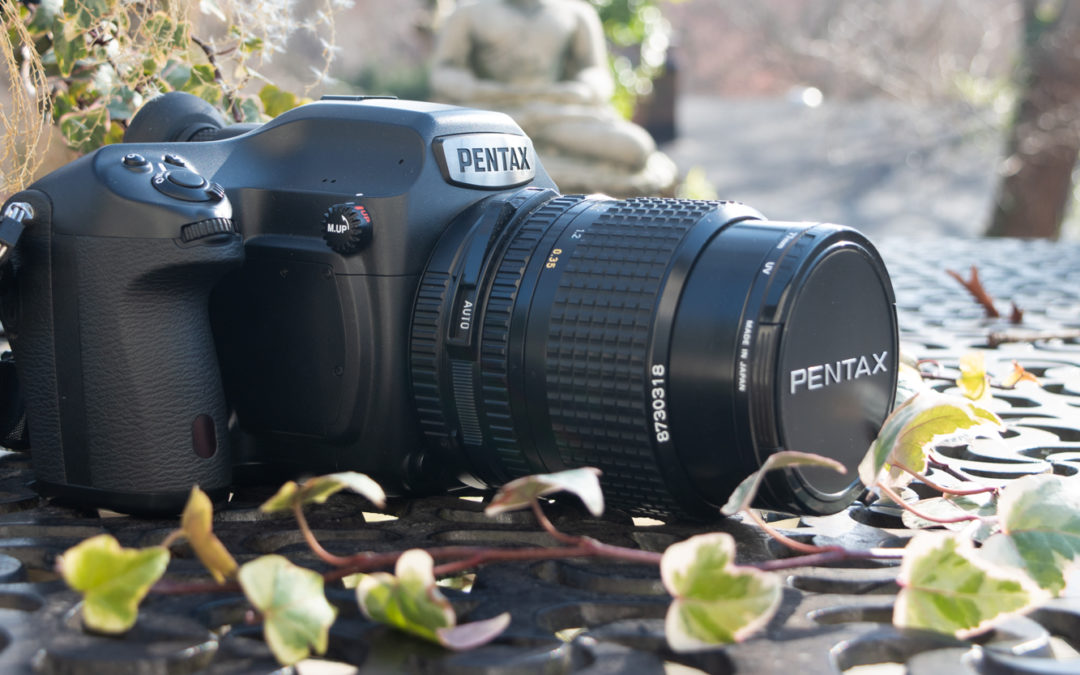
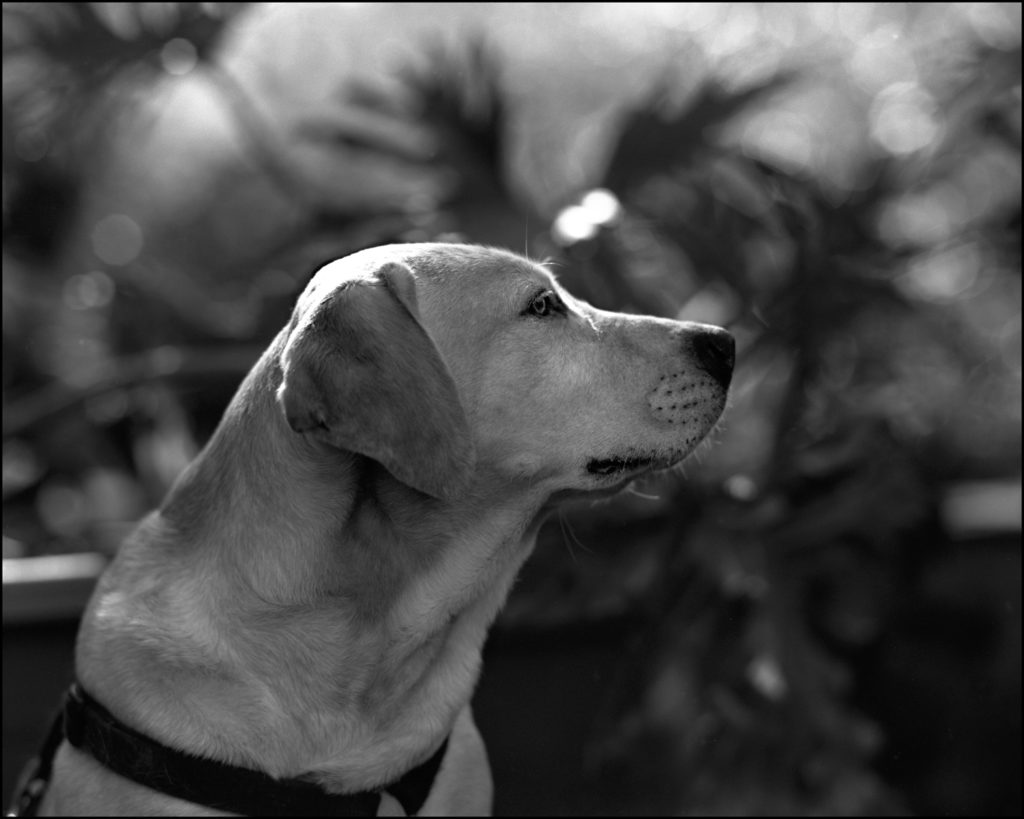
In this unapologetically opinionated and admittedly unscientific post, I attempt to answer the question: Can you get good results with old-school Pentax 67 lenses on a Pentax 645Z digital camera? I believe the answer is a resounding “Yes!”, especially in the age where digital technology has progressed to the point where images of stunningly beautiful models must be daubed with a touch of Gaussian Blur to hide the defects so brutally revealed by gigapixel sensors and ultra-high resolution, anti-reflection coated, aspherical lenses.
Don’t Feel Like Reading? Watch The Video Instead!
I bought my first Pentax 6×7 film body used back in 2006 when I made my tentative foray into medium format film photography along with a brand-spankin’ new SMC Pentax 67 55mm f4 lens, which cost a small fortune, and have been a huge fan of the platform ever since. The large 6 x 7 cm negatives contain roughly three times more information compared to a 35mm negative which translates into greater image detail and bigger enlargements. Handling a Pentax 67 feels like you’re using a 35mm SLR, except it’s a big honkin’ heavy machine. If you’re careless, you can throw out your back lugging this camera around. I write more about the Pentax 67 camera here.
Over the years, as professional photographers dumped their medium format film gear in favor of speedier digital systems, I acquired several more Pentax 67 bodies and a decent collection of lenses. I count several images made with the Pentax 67 system among my best work.
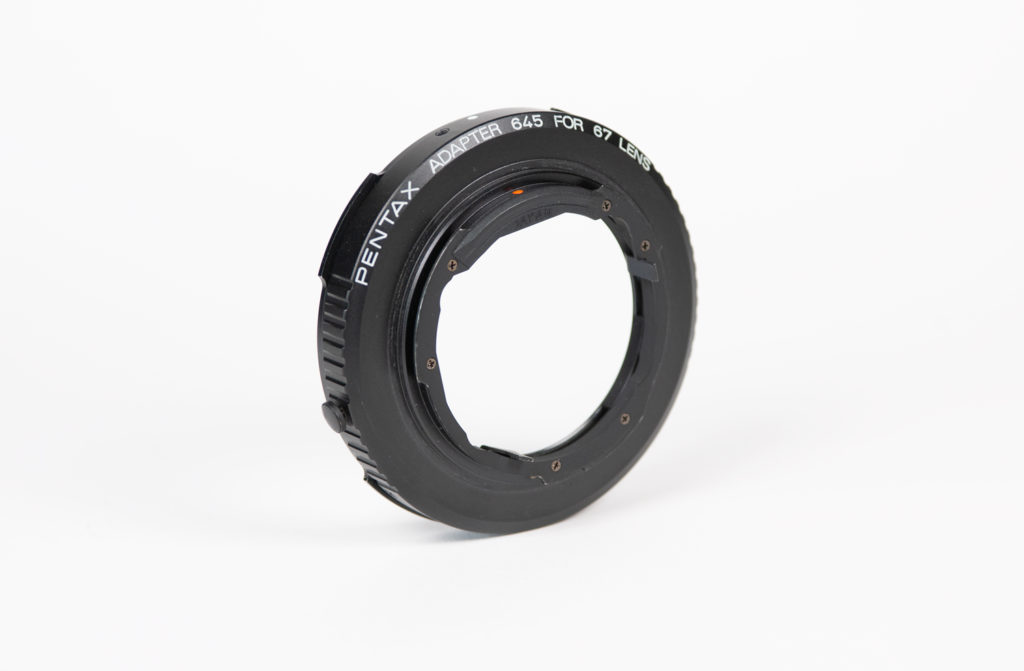
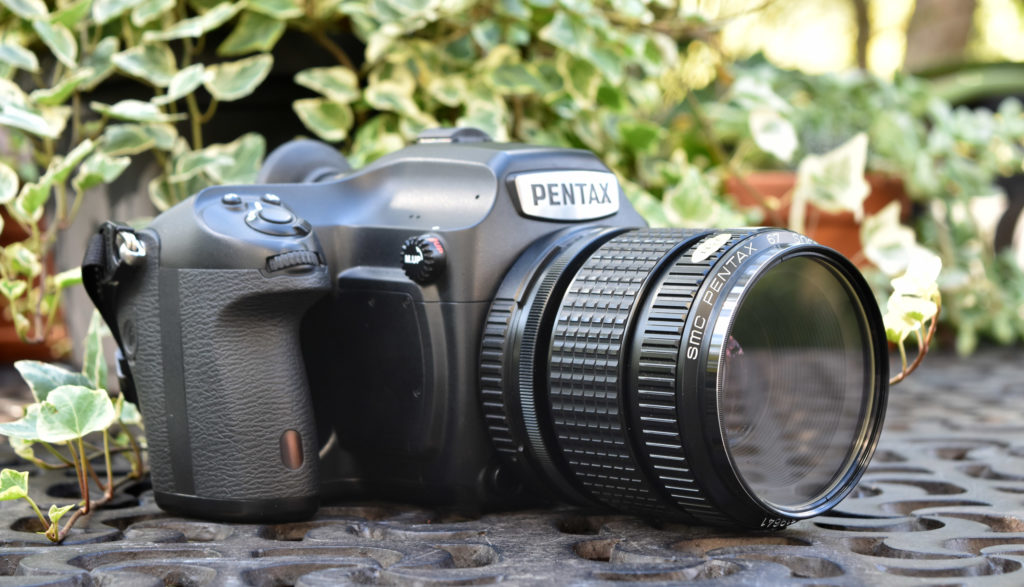
In 2019 I acquired a Pentax 645Z and naturally wondered if my Pentax 67 lenses would work on it both mechanically and aesthetically. The mechanical part was easy. Pentax made a “PENTAX ADAPTER 645 FOR 67 LENS” and I bought two off eBay. There are other third-party adapter makers but I opted for original Pentax adapters to ensure they worked.
The aesthetic question is a bit more complicated but one thing I was certainly not expecting was technical perfection. I had no plans to staple a lens resolution chart to a tree in the back yard and make microscopic comparisons between lenses and cameras. Too much work. I’m just aiming for subjectively pleasing results — within reason.
The good thing about using 67 lenses on a 645Z body is the 645’s sensor will lay well within the lens’ image circle. This means the 67 lenses will have a longer effective focal length. The approximate crop factor is 1.62, so a Pentax 67 55mm lens will have an effective focal length of (55mm x 1.62) = 89.1mm. A Pentax 67 lens with a 90mm focal length is considered a “normal” lens on a Pentax 67 body. The normal focal length for the Pentax 645Z is 55mm. This means that the widest 67 lens I personally own will be cropped to just above normal focal length on the 645Z, so no wide-angle shots are possible. I’ll just have to live with that.
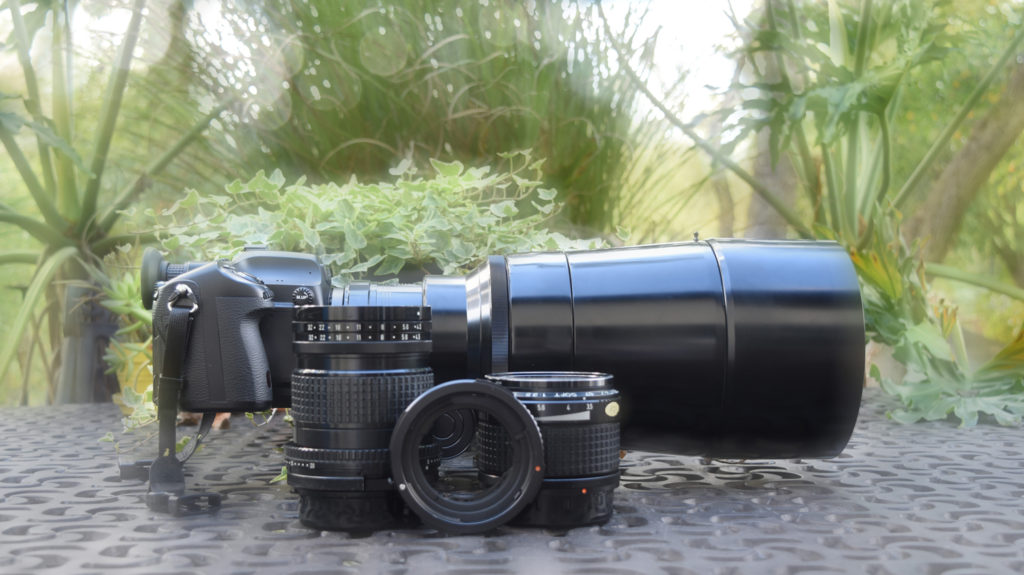
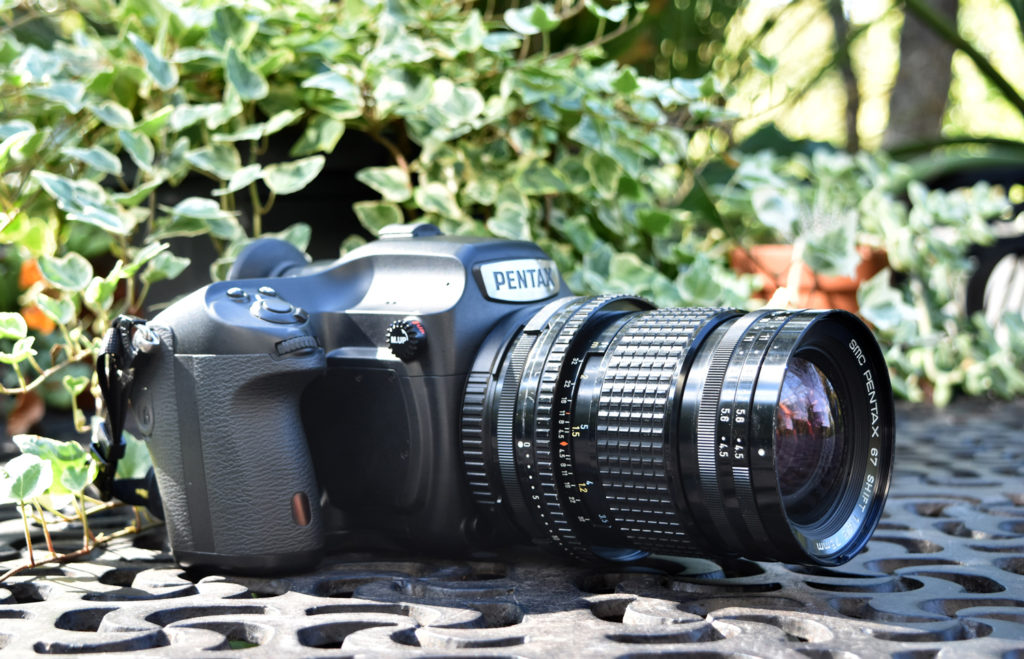
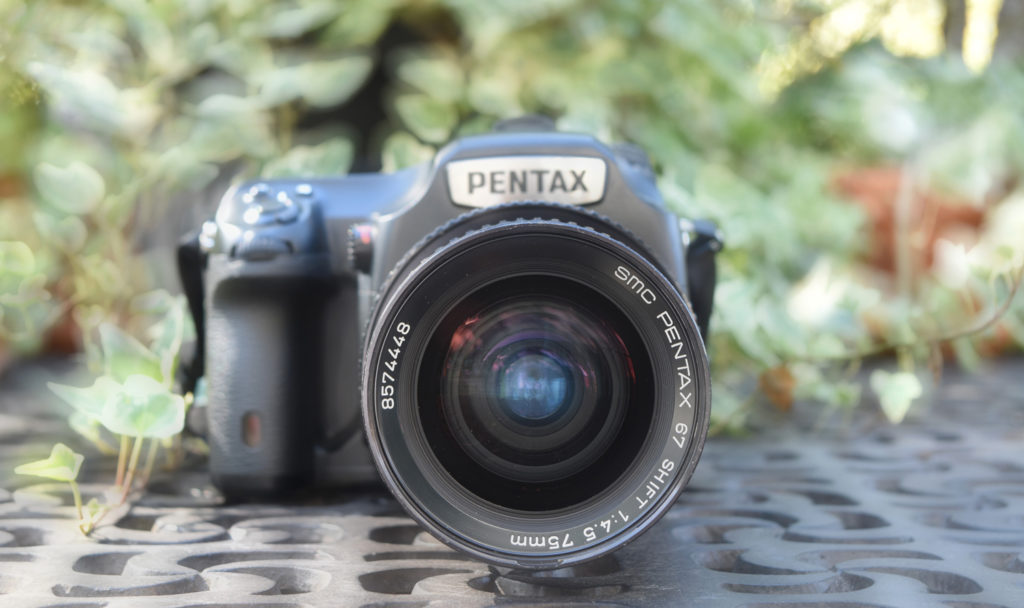
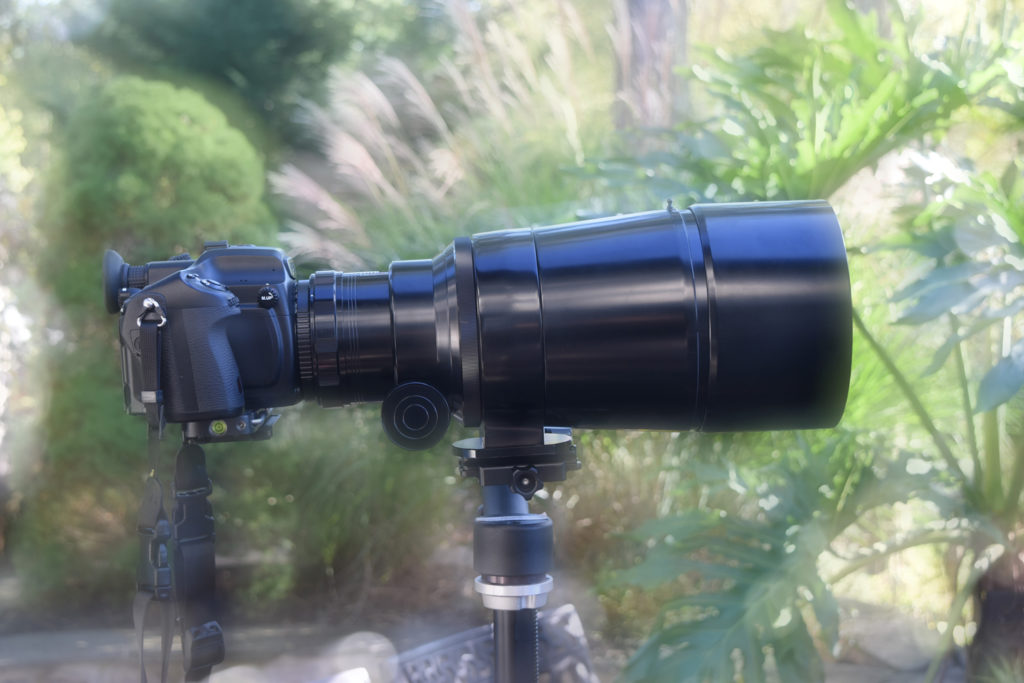
The four lenses I plan to try out are the SMC Pentax 67 Shift 75mm f4.5, the SMC Pentax 67 Soft Focus 120mm f3.5, the SMC Pentax 67 90mm f2.8, and the Asahi Pentax Takumar 6×7 600mm f4, a beast of a lens if ever there was.
Pentax 645Z with Pentax 67 600mm f4 mounted, Pentax 67 Shift 75mm f4.5, Pentax 67 Soft Focus 120mm f3.5, and the 645 For 67 Lens Adaptor.
(The 90mm lens failed to show up for this particular group photo!)
References
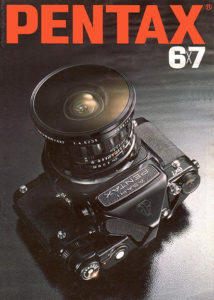
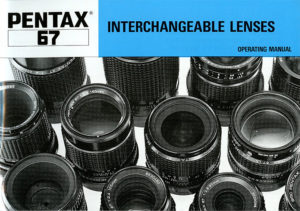
I figured I’d put the references up front in case you were curious. I’ve included both the Pentax 645Z Operating Manual, the Menu Reference, a Pentax 6×7 camera sales brochure, and the Pentax 67 Interchangeable Lenses Operating Manual. Following this, I’ve included a spread sheet listing Pentax 67 lenses and their equivalent 35mm and 55mm (645Z) equivalent focal lengths. For more information about the Pentax 645Z visit the Ricoh product page. I’ve included links to operating manuals for individual lenses discussed in this post in corresponding sections below. For more information about Takumar lenses in general see the Takumar Field Guide.
A Word About Image Size
Shooting RAW with the Pentax 645Z produces 64.9 MB PEF (Pentax Electronic File) files. These files balloon to 292.5 MB when I import them into Adobe Lightroom and convert them to DNG. This yields image dimensions of 34.4” wide x 25.8” high. These are big images and effective storage management is a real issue when shooting with cameras that produce such large files. I will write more about my storage management system in another post. For more information about image file types check out this research guide at the University of Michigan Library.
SMC Pentax 67 Shift 75mm f4.5
Every photographer needs at least one shift lens in their bag and this lens is loads of fun; With it you can correct converging lines and create panoramic images.
I learned a lot about this lens in the process of writing this section, and it all started when I went on the hunt for a clean copy of its operating manual. After several hours of scouring the Internet, and an email to Henri Peyer, a Frenchman who has quite a bit of Pentax 67 content posted on the site Galerie Photo [ https://galerie-photo.com ], all I could find were brutalized copies on two popular manual websites.
Warning: Entering Rant Zone — What I find funny is that some people post content for sale on their sites they did not produce and slap their copyright on it as if they own it. Well, now that I have that out of my system…
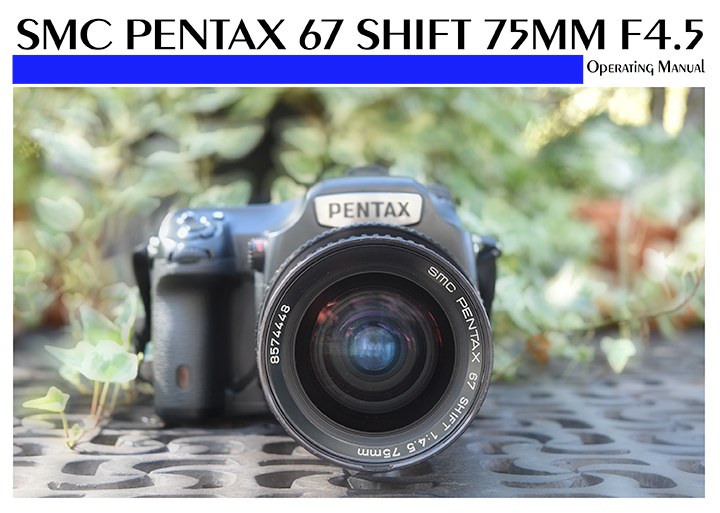
Anyway, badly in want of a good, clean copy of the operating manual and having come up empty handed, I created the “Fan Production” copy below that pays homage to the content and layout of the original manual, with updates to the photo illustrations using a Pentax 645Z body instead of a Pentax 6 x 7. I fixed several grammatical errors in the process but left some of the rather colorful words and spellings intact. Feel free to copy, post, and distribute this version of the SMC PENTAX 67 SHIFT 75MM F2.8 Operating Manual as you desire.
I don’t know about you, but I generally skim a manual to get up to speed as quickly as possible on a piece of gear so I can get right down to using it. I knew the lens shifted, but I had no idea what the two aperture rings on the front of the camera were used for and neither the funny cutout in the rear of the lens. First, to use the aperture rings:
- Set the desired aperture on the front ring calculated for the proper exposure.
- Turn the inner ring to 4.5 to allow maximum light through the lens to help focus. The inner ring is easier to turn.
- When ready to shoot, return the inner ring to correspond with the aperture set on the front ring.
The cutout at the rear of the lens is for gel filters. I had no idea.
Note: You must remove the lens from the camera to see the gel filter cutout.
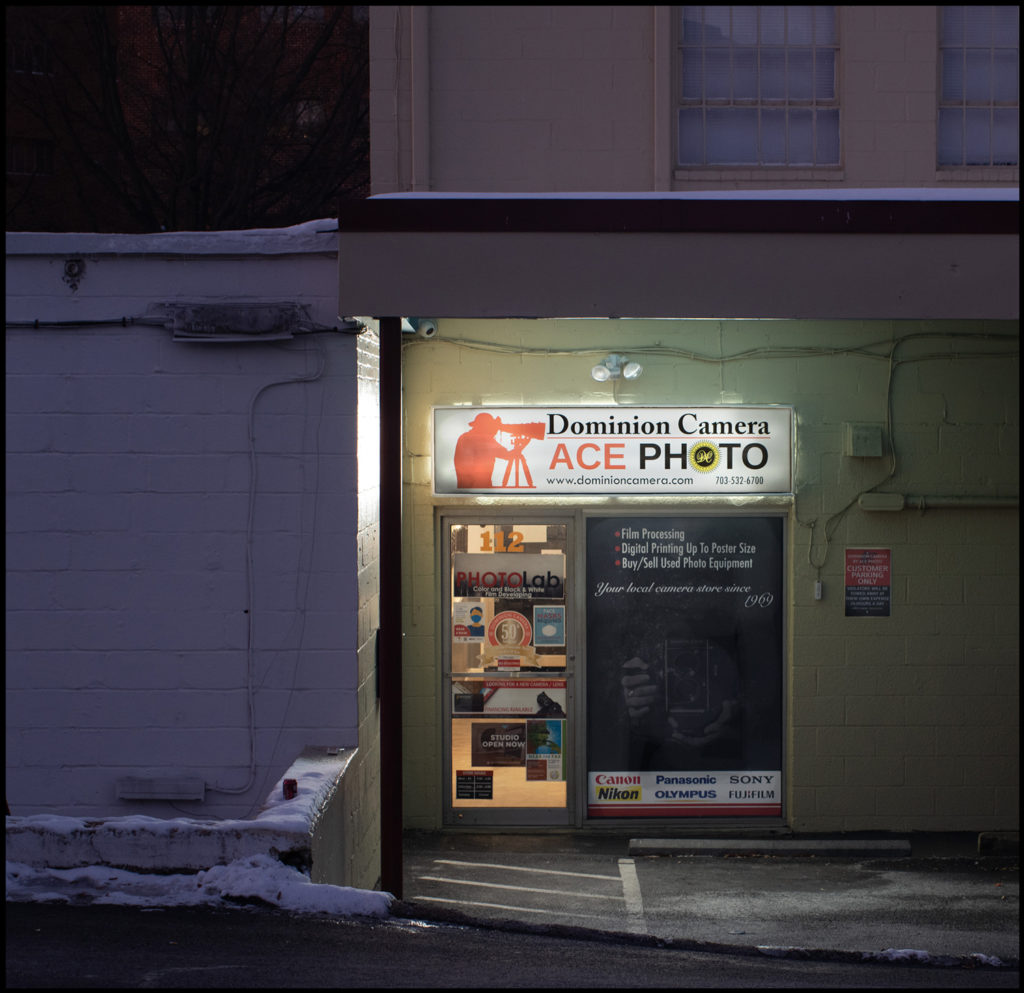
Venturing Into Falls Church at Twilight — 8 January 2022
I’m still on the hunt for subjects worthy of this magnificent lens. Stay tuned!
Update: 11 January 2022 — Tuesday
I emailed Clare and Don’s Beach Shack this morning and asked if I might come over before lunch and take a few interior shots. Dave, the owner, replied right away and said, “Sure, come over around 10:30am!”.
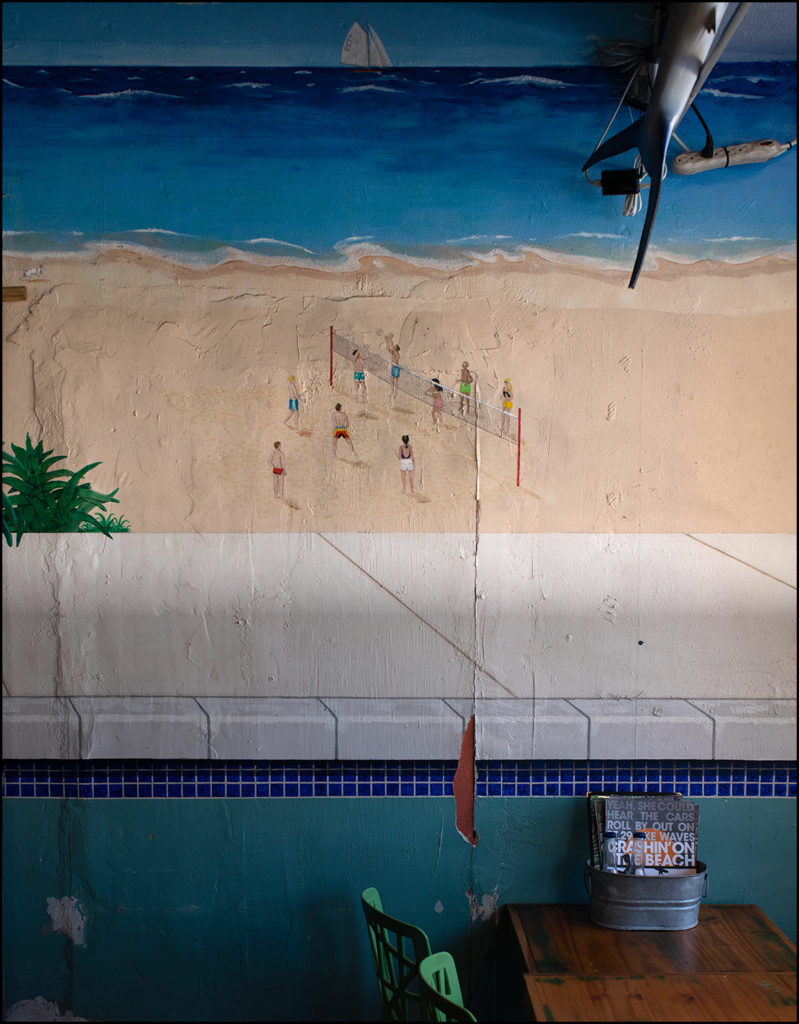
The shot of the Beach sign is a vertical panorama. The camera is about 6 feet away from the wall, as far as I can go without hitting the opposite wall. I set up the initial shot with the camera perpendicular to the wall with the barrel in the non-shifted position. I set the aperture at f8 to ensure everything on the wall would be in focus. In this position, the image I could see through the viewfinder included the tabletop, menus, and about five inches above the BEACH sign. I made several exposures varying the ISO, then shifted the lens up, which brough the image of the wall down. In the shifted position, I could see part of the dark ceiling (cropped out of the final image) and about 10 inches below the BEACH sign. Back home, I used Photoshop to stich the two images together. The final combined image was 46” high and 25” wide.
Note: If the left side of the opening looks crooked to you, that’s not a result of the shift or panorama, that’s actually the way it looks!
This lens definitely takes getting used to. I noticed, after processing this second image, that when the camera is perpendicular to the subject, which is the wall in this case, a full shift of the lens introduces a bit of perspective distortion. I didn’t correct for that in the previous image, but I have attempted to correct for it here. Still, this image is not perfect.
Lessons Learned
It’s imperative to ensure the camera is level in all respects, the film plane is perpendicular to the subject, or, if that’s not possible or desired, then only slightly tilted, unless, according to the user’s manual, you are intentionally introducing perspective distortion.
I think I cracked the code on the following image. I double-checked the camera placement and lens configuration. I shot the first round of bracketed exposures with zero vertical shift, then shift the lens up, which move the image down, the full 20mm, and shot another round of bracketed exposures. Shifting the lens reduces the light coming through the lens and requires an increase in exposure. I then select the two best halves and blend them together in Photoshop. I might add, Photoshop does an outstanding job of joining the two images because they split right across the middle of the volleyball players scene. I was also farther back from this wall, about 12 feet away as I recall.
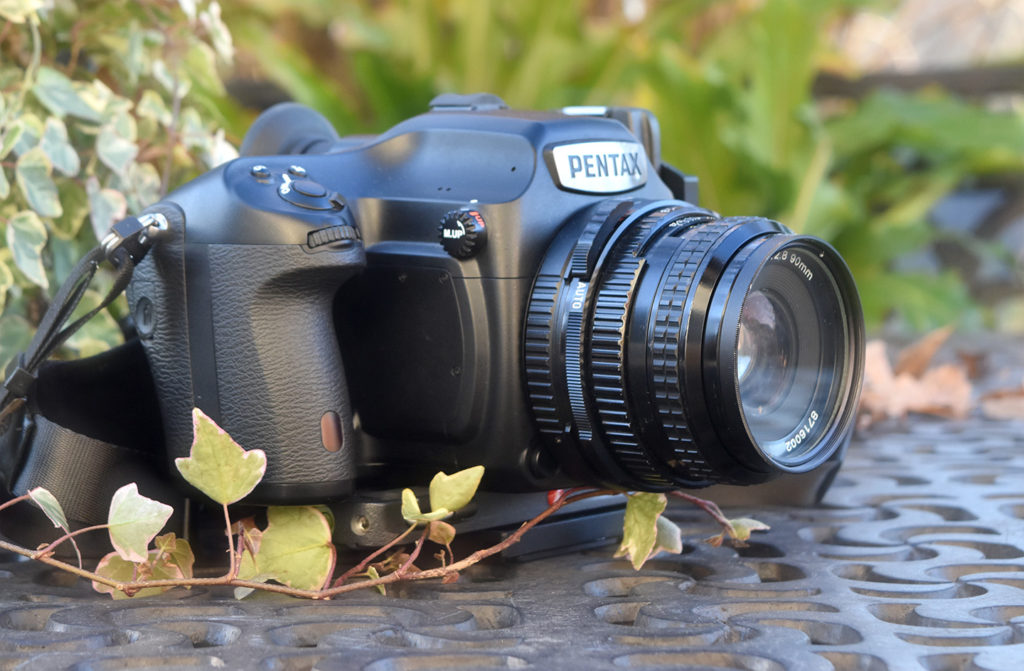
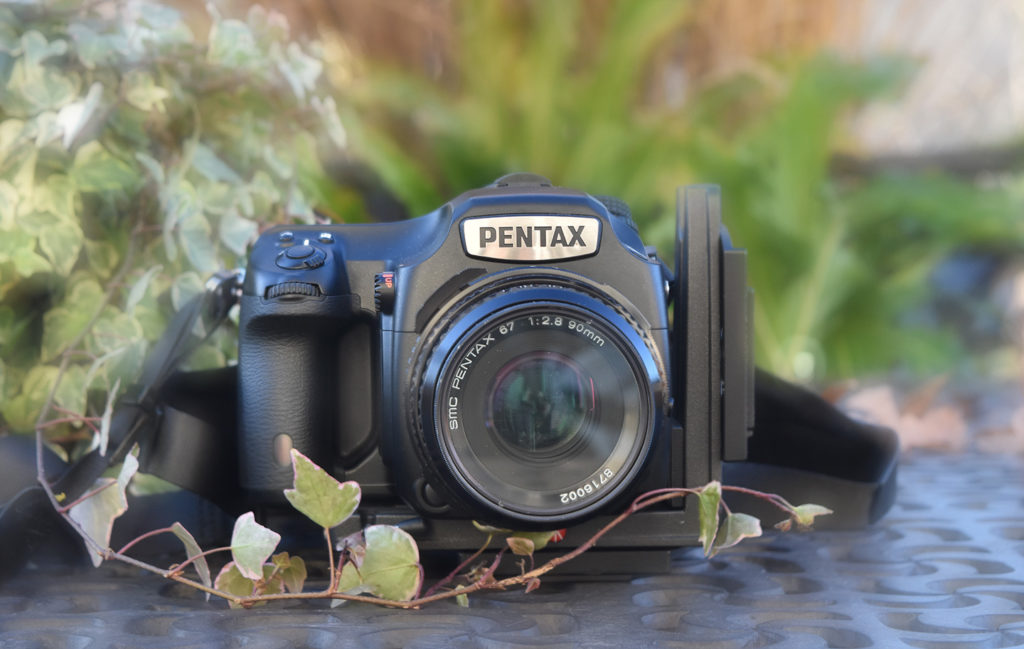
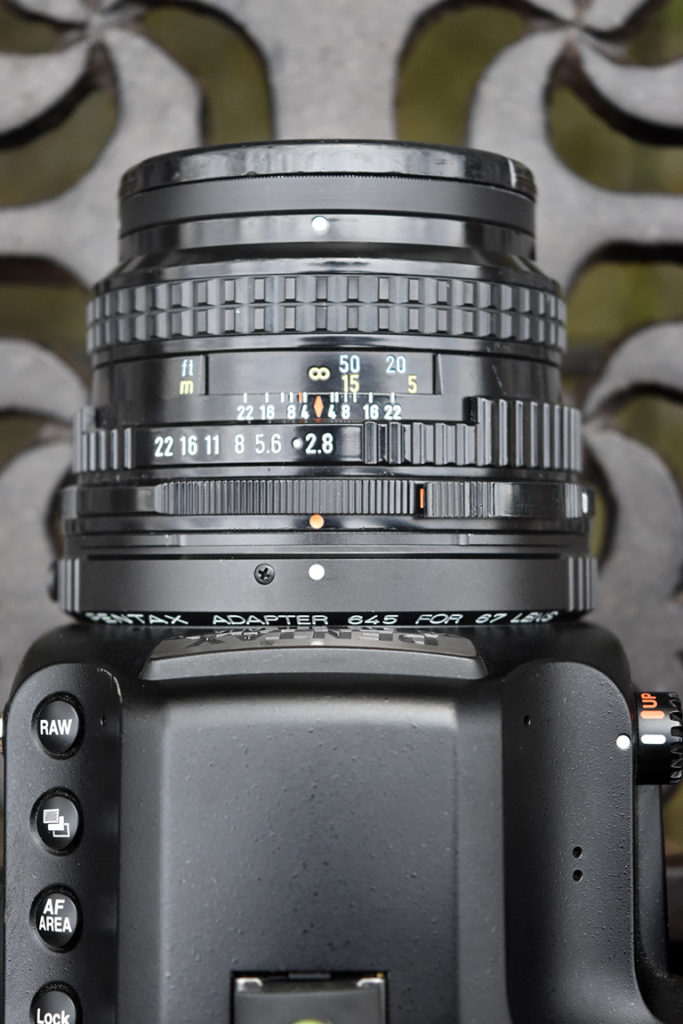
The 90mm f2.8 is the lens I use most often on a Pentax 6×7 body. I really like this lens — it’s a real bokeh monster when shot wide-open and tack sharp when stopped down. On the Pentax 645Z it’s a short-range telephoto lens with an equivalent focal length of ~147mm. It supports manual and automatic diaphragm modes via a switch on the lens barrel. It integrates well with the Pentax 645Z when the switch is in the Auto position allowing wide-open focusing and automatic diaphragm operation via the lens adapter.
SMC Pentax 67 90mm f2.8 — Head On
I shot the following image of the tall grasses in JPEG format. The image below links to the original high resolution JPEG file. I tried my best to focus on the wheaty inflorescences in the upper left foreground as the grasses swayed hypnotically in the variable late autumn breeze. The background blur is simply dream-like. I love autumn in Virginia for many reasons, but the colors — yellows, golds, oranges, reds, and burnt sienna — I find especially fantastic.
Tall Grasses — Pentax 645Z in JPEG Mode w/SMC Pentax 67 90mm f2.8
SMC Pentax 67 90mm f2.8 — Top View
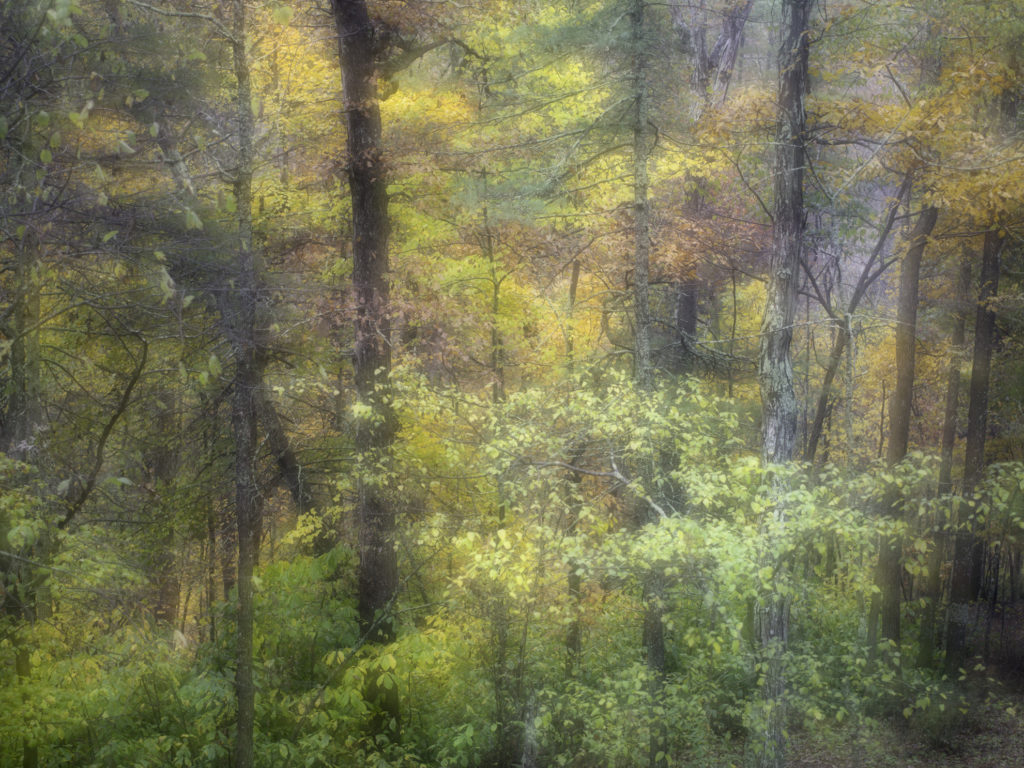
Autumn at Shamba — SMC Pentax 90mm — 30 Oct 2021
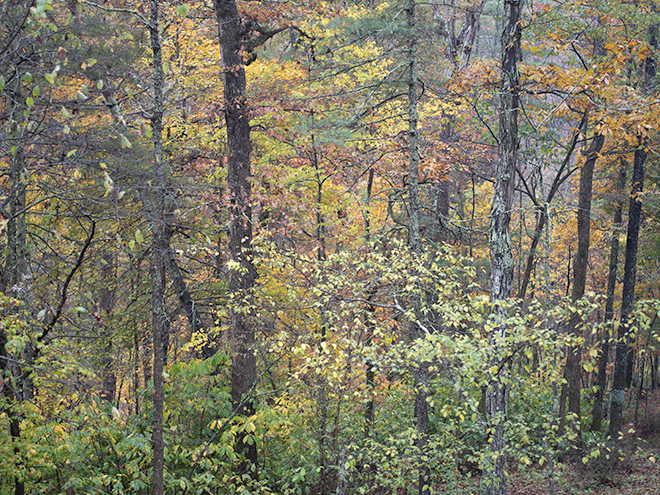
I cheated a little on the image above. It’s actually a composite of the two images below. I often blend blurry background images with their sharp versions to yield mystical, pastel images.
Beware – these images link to the full-sized, 300 MB TIFF images for closer inspection.
SMC Pentax 67 Soft Focus 120mm f3.5
Why on earth would you slave in Photoshop adding blur and hunting down blemishes like head lice when it would pop out of the camera already looking ethereal and dream-like? That’s exactly what you get with this wonderful lens. It works great on a Pentax 6×7 camera — and it works even better on the Pentax 645Z. I must admit, however, the sample images I’ve included here fail to demonstrate the true magic of this lens.
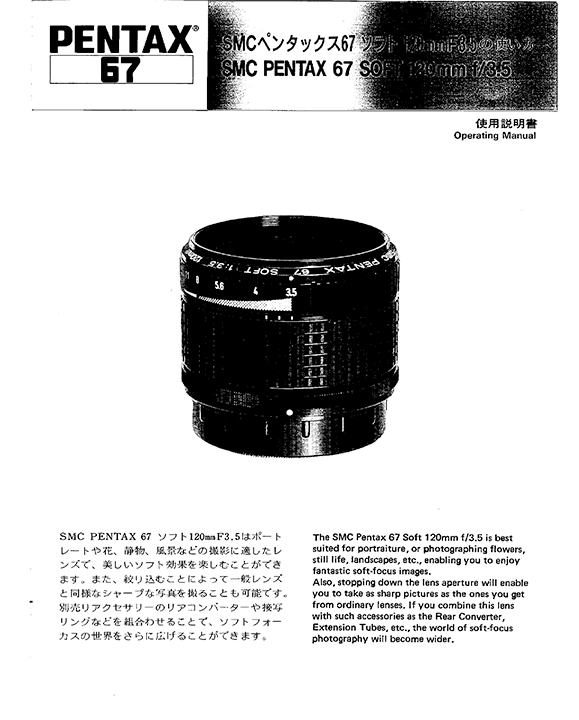
SMC Pentax 67 Soft 165mm f3.5 Operating Manual — Click the Image Above to View or Download
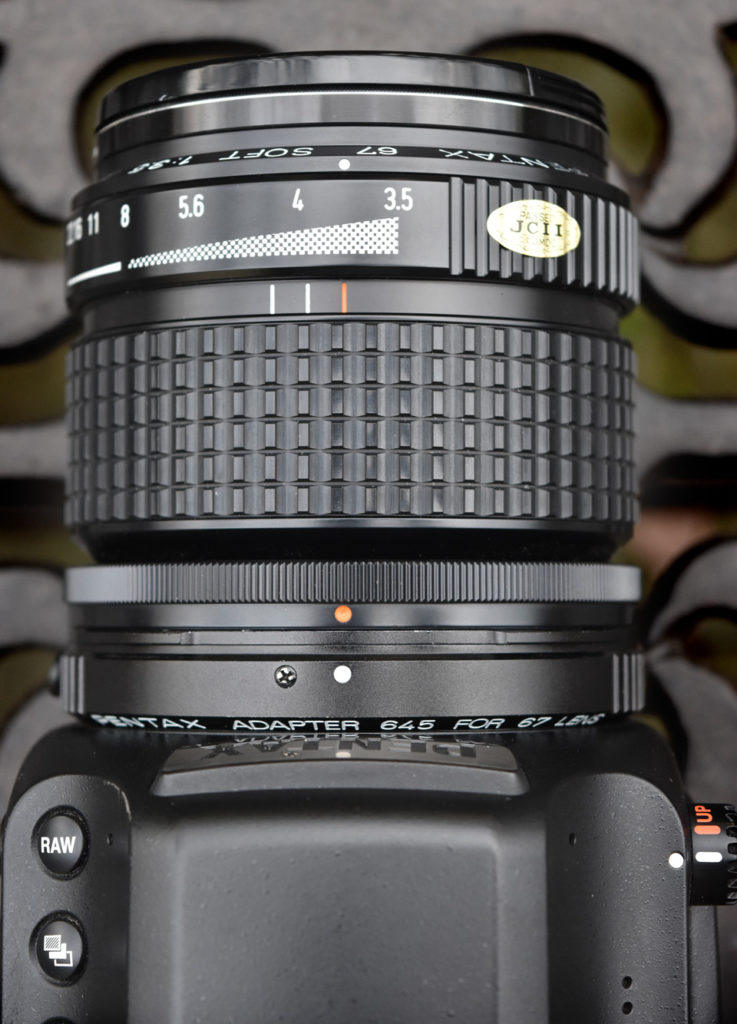
SMC Pentax 67 Soft Focus 120mm f3.5 — Top View
Red Berries — Pentax 67 Soft 120mm f3.5
American Flag — SMC Pentax 120mm Soft Focus
SMC Pentax 600mm f4
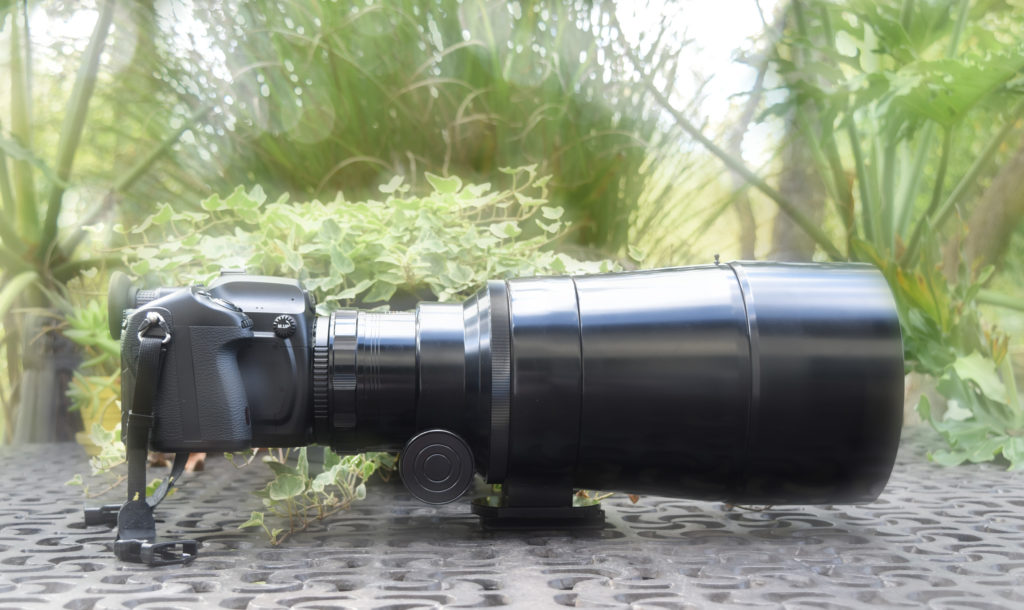
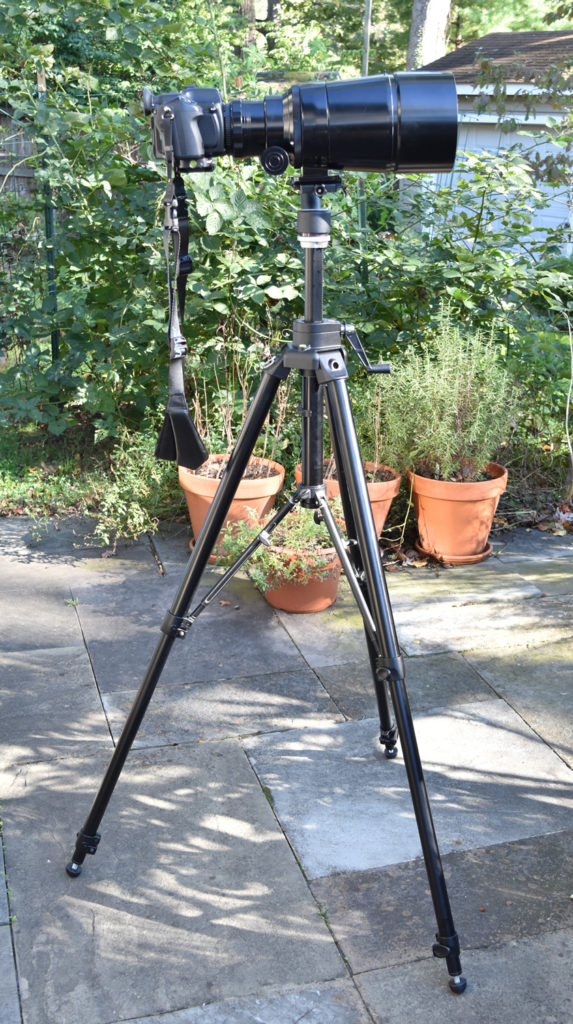
This is one, big, honkin’ lens, no doubt about it, and it’s a beauty. It’s impractical to use, really, unless you employ a sturdy tripod, like the Mighty Manfrotto 475B Geared Tripod and the Wimberley Head II [ https://www.tripodhead.com/products/wimberley-main.cfm] ( Is that a Cold Fusion website?) Ahhhh the web. Anyway, the Wimberley Head is one sturdy piece of kit as the Brits are fond of saying. You mount the lens to the gimble head and, for extra bracing, rig a Manfrotto Long Lens Support [ https://www.manfrotto.com/global/long-lens-support-359/ ] from a leg of the tripod to the base of the camera.
Asahi Pentax Takumar 6×7 600mm f4 — Mounted to Wimberley Gimble on Top of the Mighty Manfrotto 475B Geared Tripod
Asahi Pentax Takumar 6×7 600mm f4 — Profile
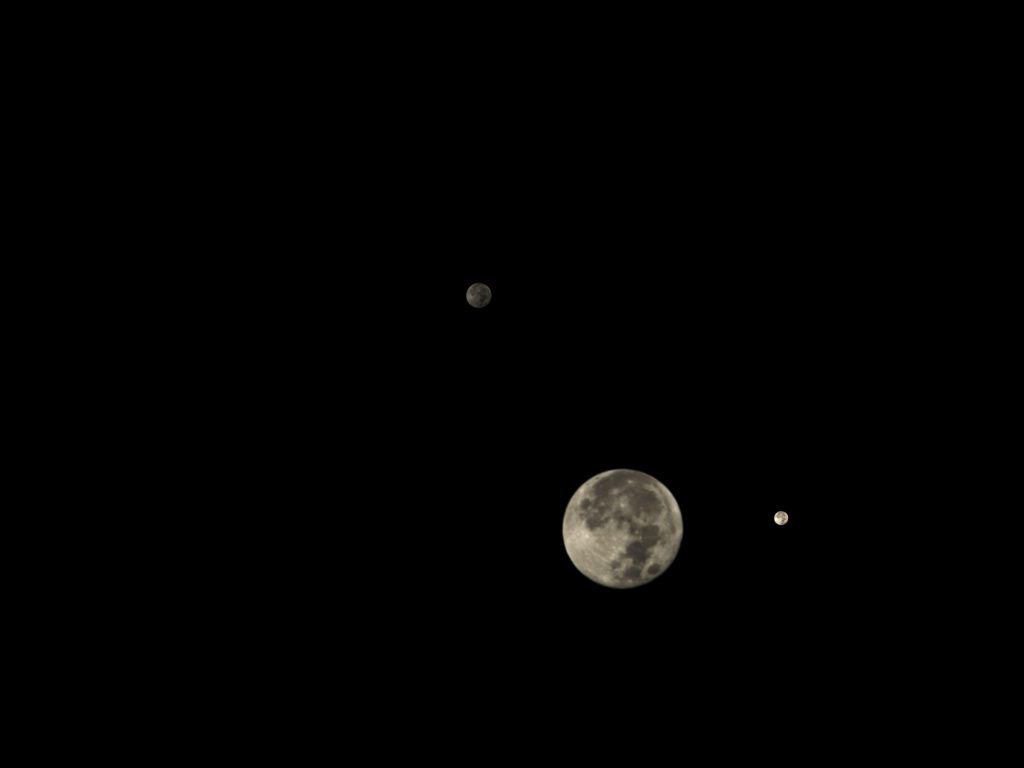
If The Moon Had Moons — Pentax 645Z w/SMC Pentax 600mm f4
Assessment And Opinion
Pentax 67 lenses employ some of the finest optics in the world and even though they were designed and manufactured with film in mind, they work perfectly fine on the Pentax 645Z. Do I recommend you rush out and buy some Pentax 67 lenses for the sole purpose of using them on a digital camera? Nope. I think that would be a waste of money better spent on lenses specifically designed for the Pentax 645 digital camera platforms. But, if you happen to have a few Pentax 67 lenses and have lost interest in shooting or developing film, or just want to extend your creative boundaries, I say borrow, rent, or buy a Pentax 645Z and put them to good use.
Cons: All Pentax 67 lenses have a longer apparent focal length when used on the Pentax 645Z. They are heavier and make an already big camera even harder to lug around. They require manual focusing which, when you think about it, is a First World problem if ever there was one.
Pros: They produce great images, and depending on the lens you use you can achieve incredible, unique effects, which may lead you to discover a side of your creative personality hitherto unknown.
Now, good reader — Venture Boldly Into The World And Take Pictures!

